Uptime Kuma with Docker Compose: Monitor Uptime the Easy Way.

Introduction: Why Use Uptime Kuma?
Monitoring uptime is critical to ensure your services, APIs, or web applications are always available. Uptime Kuma is an open‑source, self‑hosted uptime monitoring tool that’s perfect for both homelab and production environments. I use it in my homelab to monitor servers, web endpoints, Docker containers, SSL expiration, and more — all from a unified dashboard.
Key advantages:
- Instant visibility into service health, with real‑time alerts.
- Built-in integrations: Telegram, Slack, email, webhooks, Discord, and more.
- Custom status pages you can share with clients or teams.
- Clean, visual dashboards and historical uptime charts.
- Security features: TLS/SSL support, two‑factor authentication (2FA).
- Despite its rich feature set, it remains lightweight and efficient, making it ideal even for smaller setups.
- Entirely free and community-driven.
If you're managing servers or services and want reliable, transparent uptime monitoring without relying on SaaS tools, Uptime Kuma is a top choice.
Prerequisites
Before starting, ensure you have:
- Docker and Docker Compose installed on your host machine.
- Basic familiarity with command-line, environment variables, and file structure.
- (Optional) SSL/TLS certificates.
If Docker Compose is not yet installed, refer to this installation guide on How to Install Docker on Ubuntu [3 Methods Explained & Best Practice]. Choose the method that suits your use case.
Step 1: Prepare Your Directory Structure
Create a directory tree for your Uptime Kuma deployment:
1mkdir -p ~/docker_compose_manifests/uptime_kuma/certs
2cd ~/docker_compose_manifests/uptime_kuma
Your folder layout should look like this:
1uptime_kuma/
2├── certs/
3└── (you will add more files here)
We will store your SSL/TLS certificates inside the certs directory, along with the Docker Compose file and environment variables.
Step 2: Create the Docker Compose Manifest
Inside uptime_kuma/, create a docker-compose.yml file. Here’s a sample configuration (customize as needed):
 1name: uptime_kuma
 2services:
 3  uptime_kuma:
 4    container_name: uptime_kuma
 5    image: louislam/uptime-kuma:1
 6    ports:
 7      - "${HOST_PORT}:3001"
 8    volumes:
 9      - uptime-kuma:/app/data
10      - ${UPTIME_KUMA_KEY}:/app/data/docker-tls/uptime-kuma.key
11      - ${UPTIME_KUMA_CERT}:/app/data/docker-tls/uptime-kuma.crt
12      - ${ROOT_CA_CERT}:/app/data/docker-tls/ca.cert.pem
13    restart: unless-stopped
14    environment:
15      PUID: "${PUID}"
16      PGID: "${PGID}"
17      UPTIME_KUMA_SSL_KEY: /app/data/docker-tls/uptime-kuma.key
18      UPTIME_KUMA_SSL_CERT: /app/data/docker-tls/uptime-kuma.crt
19      NODE_EXTRA_CA_CERTS: /app/data/docker-tls/ca.cert.pem
20    cpus: "0.50"
21    domainname: ${DOMAIN_NAME}
22    healthcheck:
23      test: ["CMD-SHELL", "curl -fk https://localhost:3001 || exit 1"]
24      interval: 30s
25      timeout: 10s
26      retries: 2
27      start_period: 30s
28    hostname: ${HOSTNAME}
29    mem_limit: "1536M"
30    stop_grace_period: 1m
31    storage_opt:
32      size: "1G"
33
34volumes:
35  uptime-kuma:
Notes:
- We use a named Docker volume
uptime-kumato persist data. - SSL certificates (key, cert, root CA) are mounted into the container for secure HTTPS use.
- Resource constraints (
cpu's,mem_limit,storage_opt) prevent resource overconsumption. - The healthcheck monitors container responsiveness (useful to detect failures).
domainnameandhostnameare configured to facilitate local DNS resolution.
You may adjust or remove settings like healthcheck or resource limits depending on your environment.
Step 3: Define Environment Variables
Create a .env file (in the same directory as docker-compose.yml) containing variables used by your compose file. Example:
 1cat <<EOF > .env
 2HOST_PORT=3001
 3PUID=1120
 4PGID=1120
 5UPTIME_KUMA_KEY=./certs/uptime_kuma.key
 6UPTIME_KUMA_CERT=./certs/uptime_kuma.crt
 7ROOT_CA_CERT=./certs/ca.cert.pem
 8DOMAIN_NAME=thetinkerer.home
 9HOSTNAME=kuma-uat
10EOF
These variables help keep your compose file clean and adaptable to different environments.
Step 4: Add SSL/TLS Certificates
If you already have certificates:
1cp -av /tmp/uptime_kuma_certs/* ~/docker_compose_manifests/uptime_kuma/certs/
Ensure that your certs/ folder contains:
uptime_kuma.keyuptime_kuma.crtca.cert.pem
NOTE: If you are new to certificate generation (Let’s Encrypt, self-signed, etc.), I plan to publish a future guide covering that process.
Step 5: DNS Configuration
To access Uptime Kuma via a friendly domain, configure a DNS A record pointing kuma-uat.thetinkerer.home (or your chosen subdomain) to your Docker host's IP address.
This allows you to access the Uptime Kuma interface securely over HTTPS.
Step 6: Deploy Uptime Kuma
With files in place, your directory structure should resemble:
1uptime_kuma/
2├── .env
3├── certs/
4│   ├── ca.cert.pem
5│   ├── uptime_kuma.crt
6│   └── uptime_kuma.key
7└── docker-compose.yml
- Initiate a dry-run to validate your compose setup:
1docker compose config
- If everything looks correct, launch the container stack:
1docker compose up -d
- Check status:
1docker ps
You should see a container like:
1CONTAINER ID   IMAGE                    STATUS            PORTS                      NAMES
228d9c0         louislam/uptime-kuma:1   Up (healthy)      0.0.0.0:3001->3001/tcp     uptime_kuma
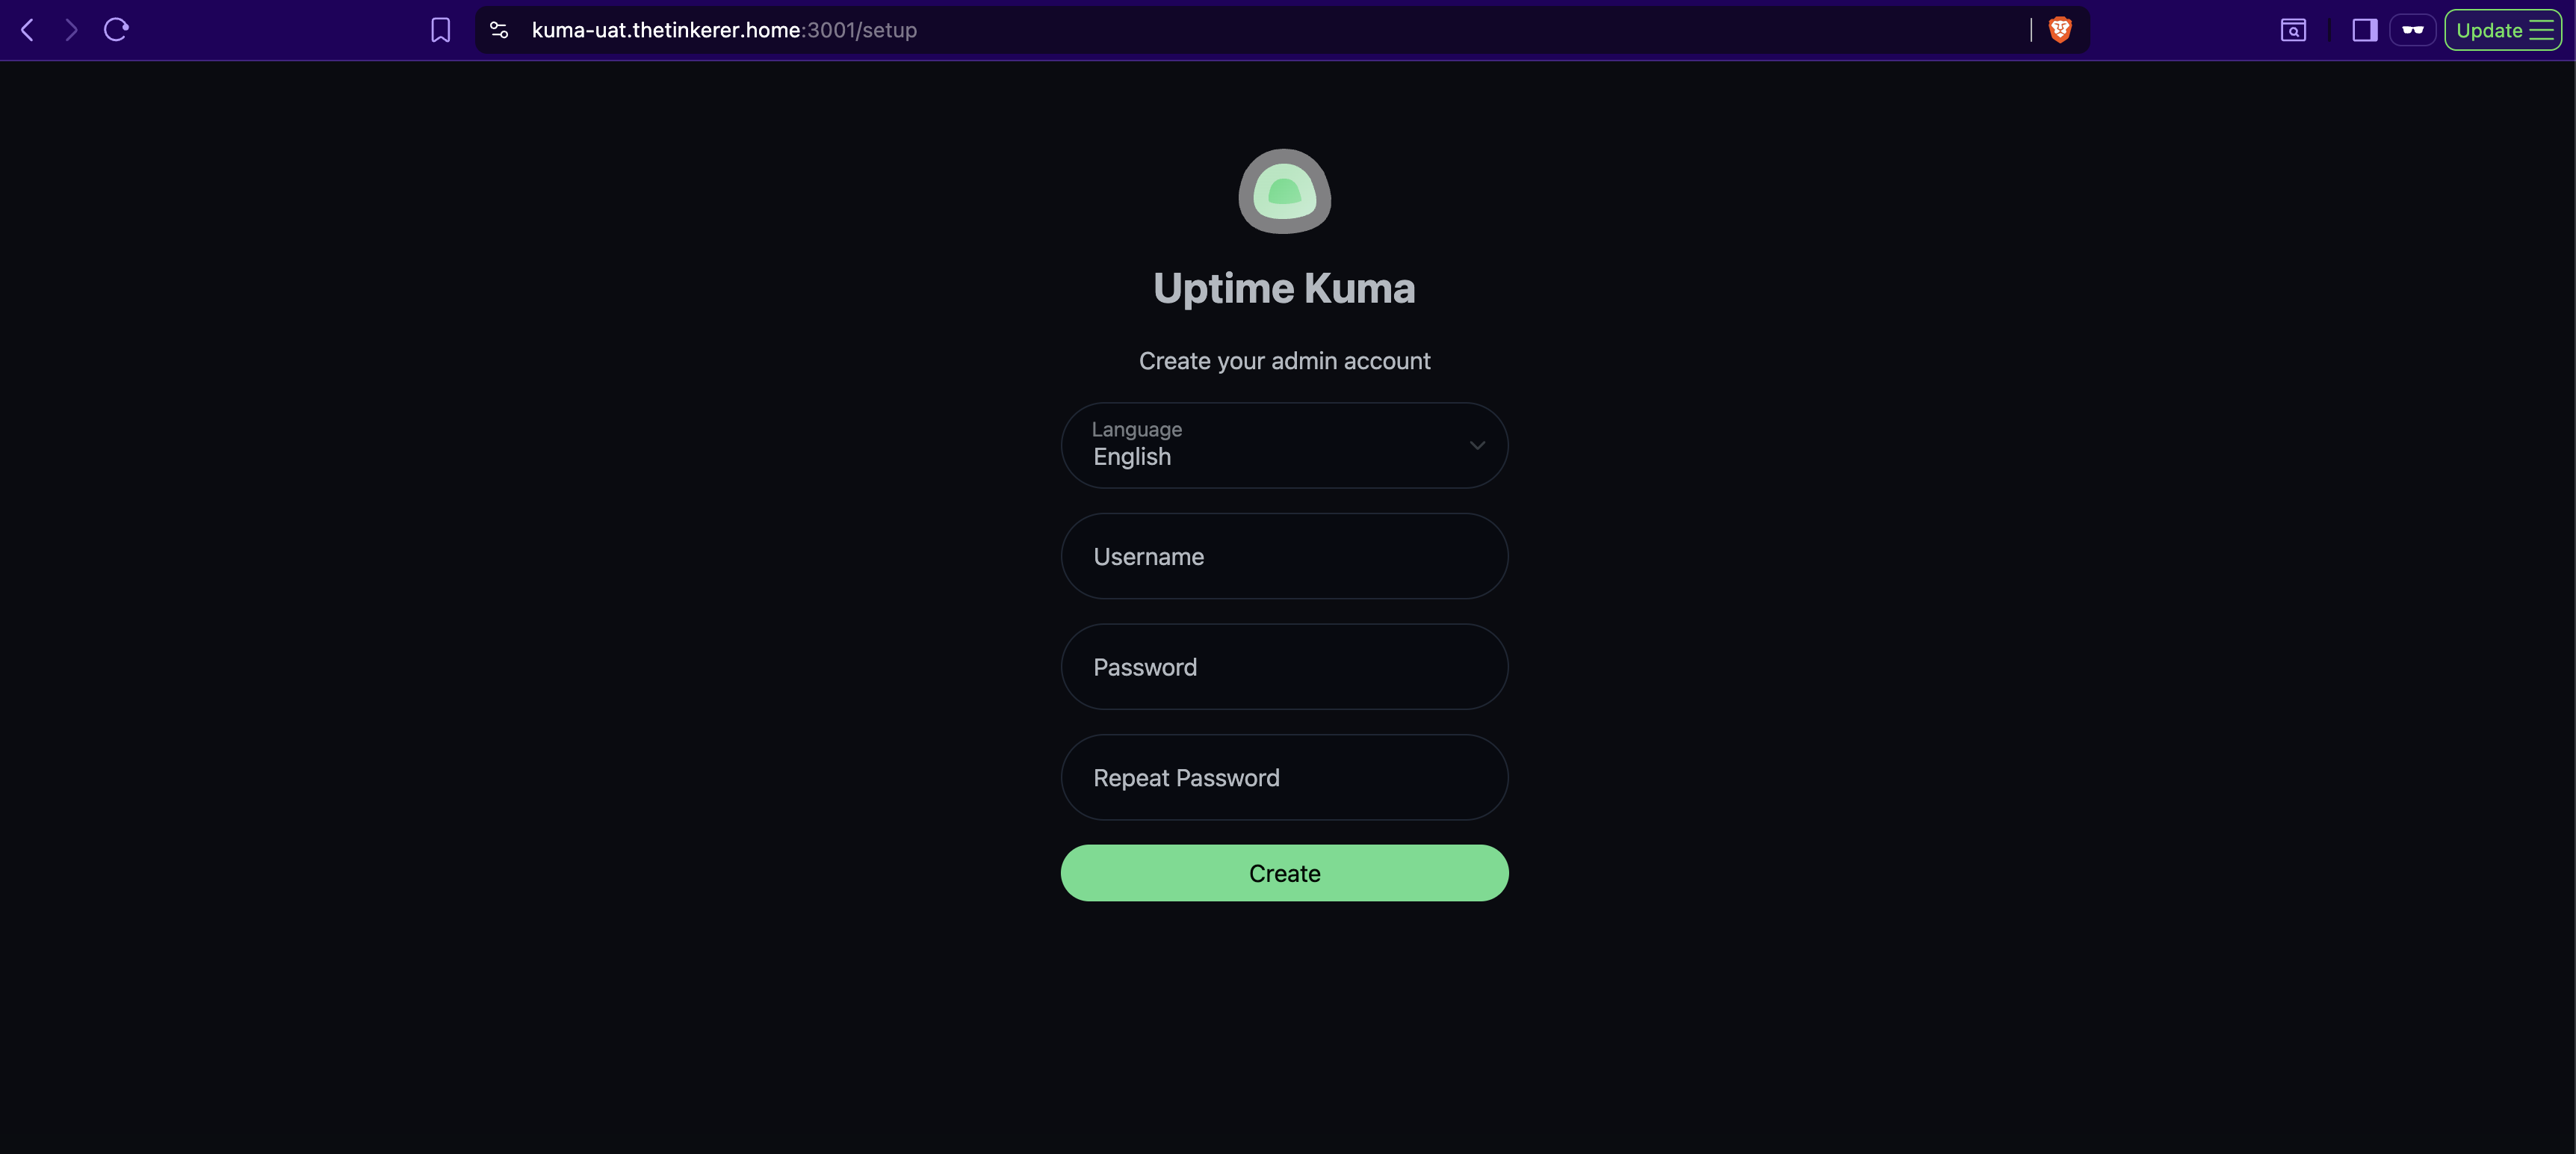
Open your browser and visit https://kuma-uat.thetinkerer.home:3001 (or your domain) to complete the setup. Create your admin username/password on first login, and you’ll land in the Uptime Kuma dashboard.
Step 7: Create Your First Monitor
Monitors are core components in Uptime Kuma. They define what services you want to check (e.g. a web server, API endpoint, DNS, etc.), how often, and where to send alerts.
Supported Monitor Types
Here are a few examples:
- HTTP/HTTPS — monitor websites or REST APIs
- TCP Port — check availability of SSH, FTP, or custom ports
- Ping (ICMP) — verify basic network reachability
- DNS — validate DNS resolution correctness
- Push — wait for external pings (good for internal jobs or CRON)
- Steam Game Server — monitor game server responsiveness
- Docker — check container health/deployment status
Setup Example: DNS Monitor
- Log in to Uptime Kuma.
- Click the green "➕ Add New Monitor" button at the top left.
- Fill in the following settings:
- Monitor Type: DNS
- Friendly Name: stalin.thetinkerer.dev DNS Check
- Hostname: stalin.thetinkerer.dev
- Resolver Server: (enter your desired DNS server, e.g. 1.1.1.1 for Cloudflare or 8.8.8.8 for Google DNS)
- Resource Record Type: A (this checks the IPv4 address)
- Interval: Choose how often to check (e.g. every 60 seconds)
- Notifications:
- Select the notification channels you want to be used (e.g., Discord, email, Telegram).
- You can set up notifications later if not already configured.
- Click Save.
Once configured, Uptime Kuma will:
- Periodically query DNS resolution for your domain
- Flag the monitor Down if resolution fails or differs
- Record downtime events and durations
- Trigger alerts via selected channels
- Update dashboard visuals to reflect status
You can follow a similar process for HTTP, TCP, or other monitor types.
Conclusion & Next Steps
Congratulations — you now have a fully functioning Uptime Kuma instance using Docker Compose! You've:
- Prepared your deployment structure
- Created and tuned your Docker Compose configuration
- Configured SSL/TLS (if applicable)
- Set up DNS entry and deployed the container
- Created your first monitor.
In the follow-up blogs, I’ll cover how to configure advanced notifications (telegram or slack), group monitors into status pages and a lot more.