Windows Virtualization with Proxmox: A Comprehensive Tutorial
Escape the Confines of Traditional Installations: Deploy Windows VMs on Proxmox!
Tired of the limitations of traditional Windows installations? Dive into the world of virtualization and learn how to effortlessly deploy Windows VMs on the powerful Proxmox Hypervisor. This comprehensive guide will walk you through the entire process, from creating virtual machines using best-practices to configuring drivers post deployment. Whether you're a seasoned system administrator or a curious beginner, this blog post has everything you need to get started. So, let's virtualize your Windows experience and unlock the full potential of your hardware!
Table of Contents
⚠️ Note: Some options may vary depending on your Proxmox version. For clarification, refer to this post on the Proxmox portal.
Installation
To create and configure a Windows VM, you'll need the following files:
- Windows ISO - Download Link
- VirtIO drivers ISO - Download Link
Once you have these files, you're ready to begin!
Preparation
- Navigate to the Storage section in your Proxmox interface and select local (proxmox) storage. This is where your ISO images will be stored.
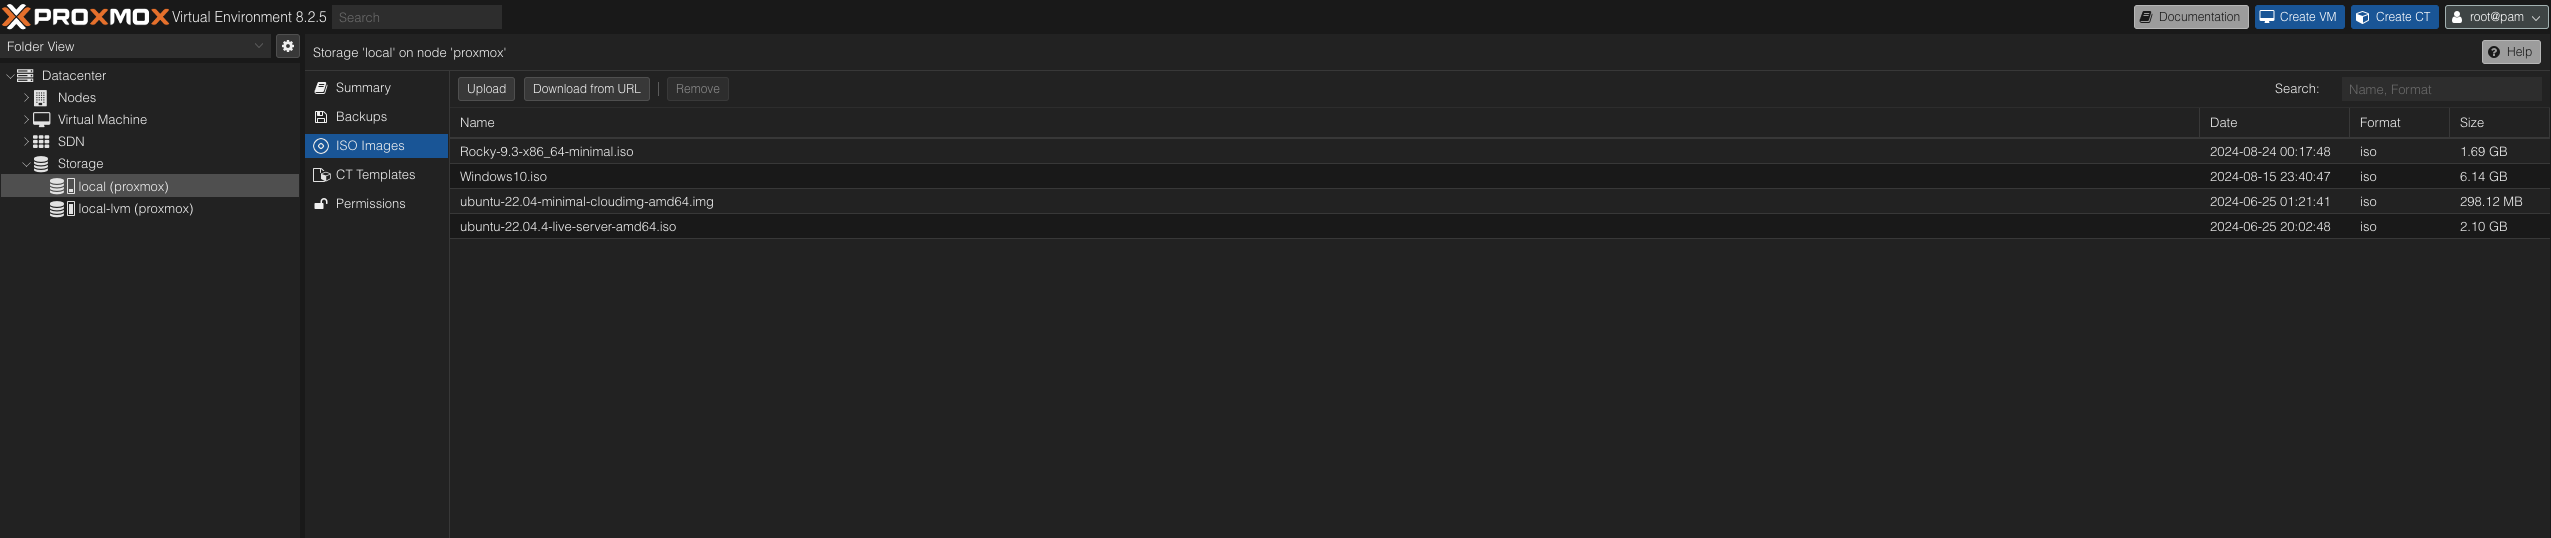
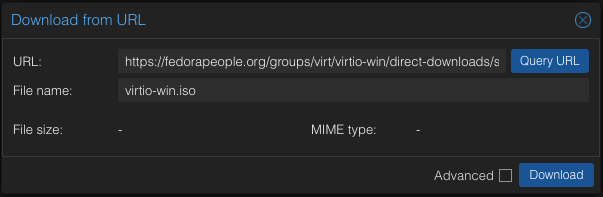
- Click Upload if you've already downloaded the ISO files. Alternatively, click Download from URL and paste the download URL to streamline the process. This method downloads and stores the files simultaneously.
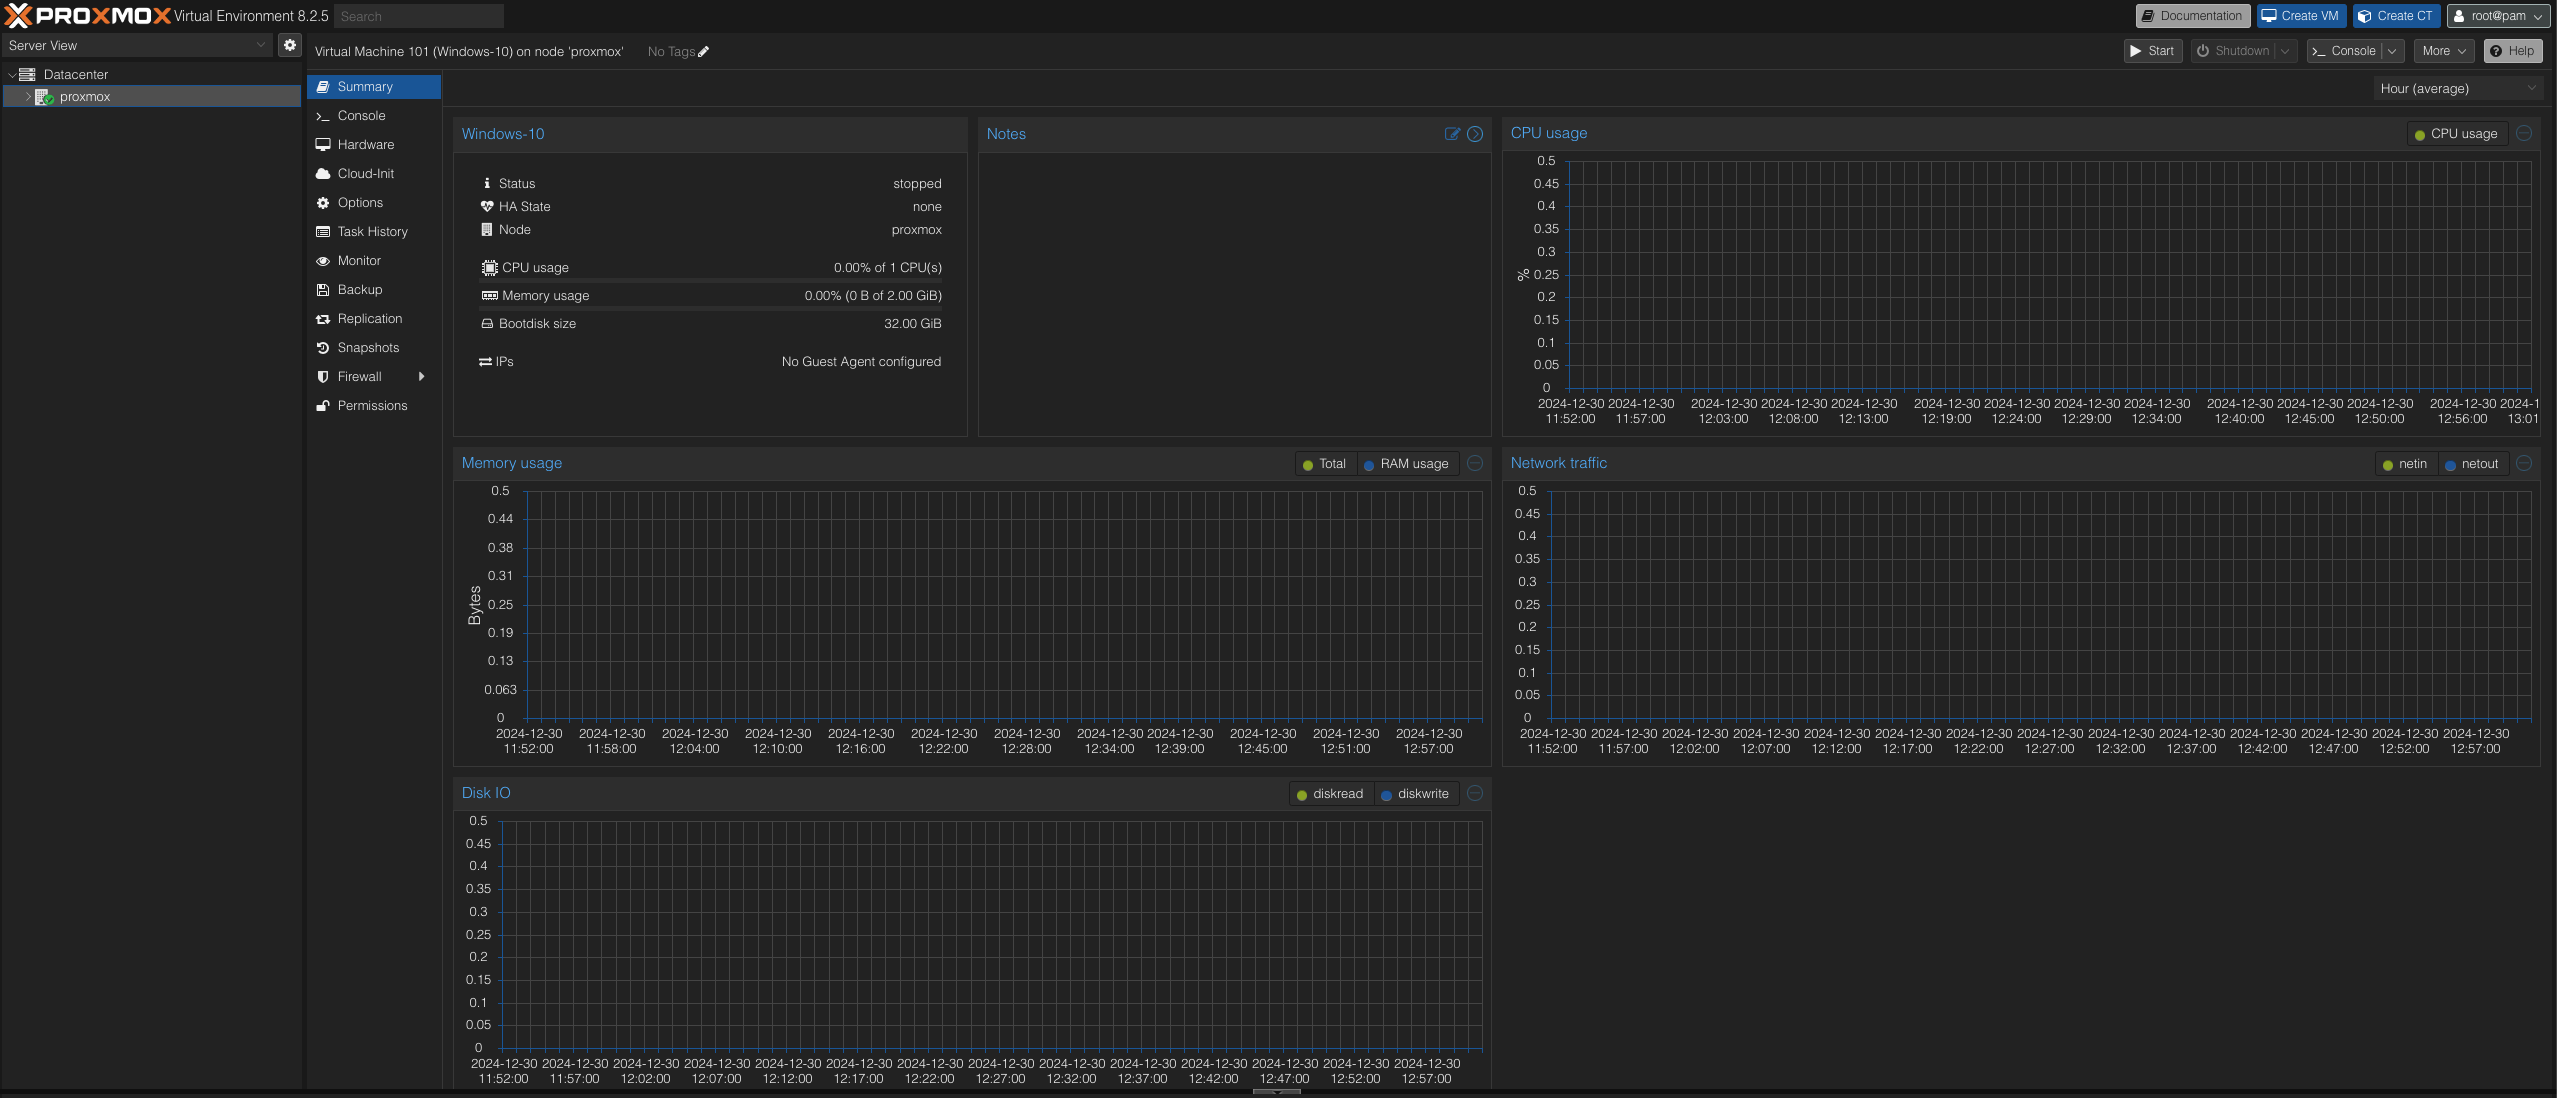
- With the ISO images ready, let's create a VM. In the General tab, assign a Name to your VM and proceed to the OS tab.
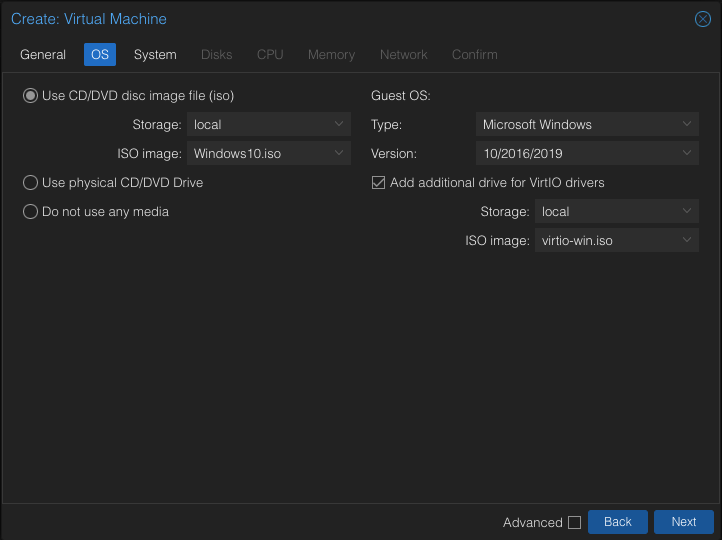
- Choose local as the Storage and select the Windows 10 ISO image.
- Set the Type to Microsoft Windows and the Version to 10/2016/2019.
- Enable the Add additional drive for VirtIO drivers option, ensuring Storage is set to local and the ISO image is the virtio-win.iso. This automatically creates a CD-ROM drive, attaches it to the VM, and mounts the VirtIO drivers ISO.
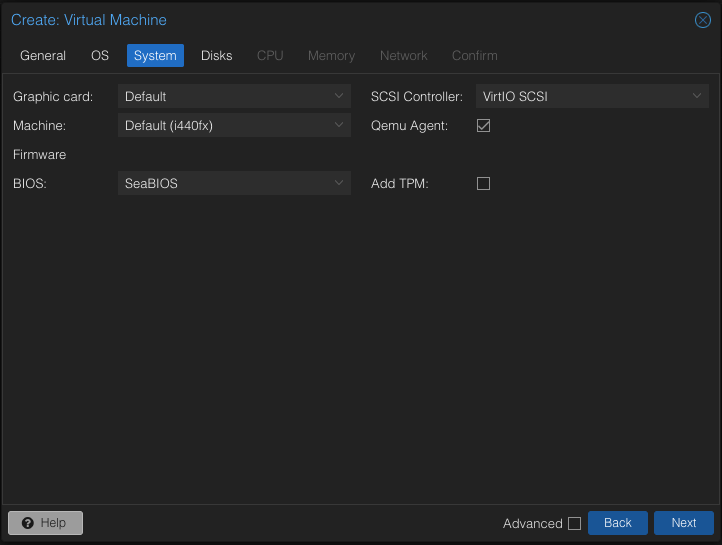
- In the System tab, select VirtIO SCSI as the SCSI Controller and enable the Qemu Agent.
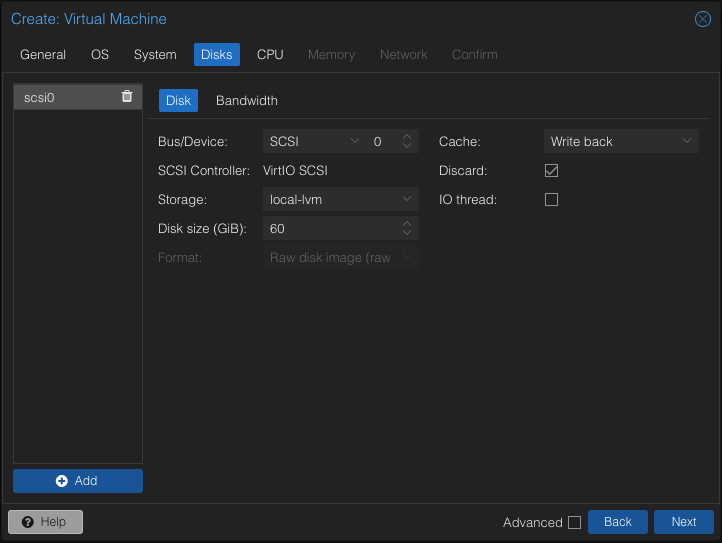
- Within the Disks tab, choose SCSI for Bus/Device, select Write back for Cache to optimize performance, and enable the Discard option to allow TRIM and reclaim unused space on the guest VM.
- In the Network tab, set the Model to VirtIO (paravirtualized).
All other options can be left at their default settings. This guide focuses on the essential best practices for deploying Windows on Proxmox.
Launching the Windows Installation
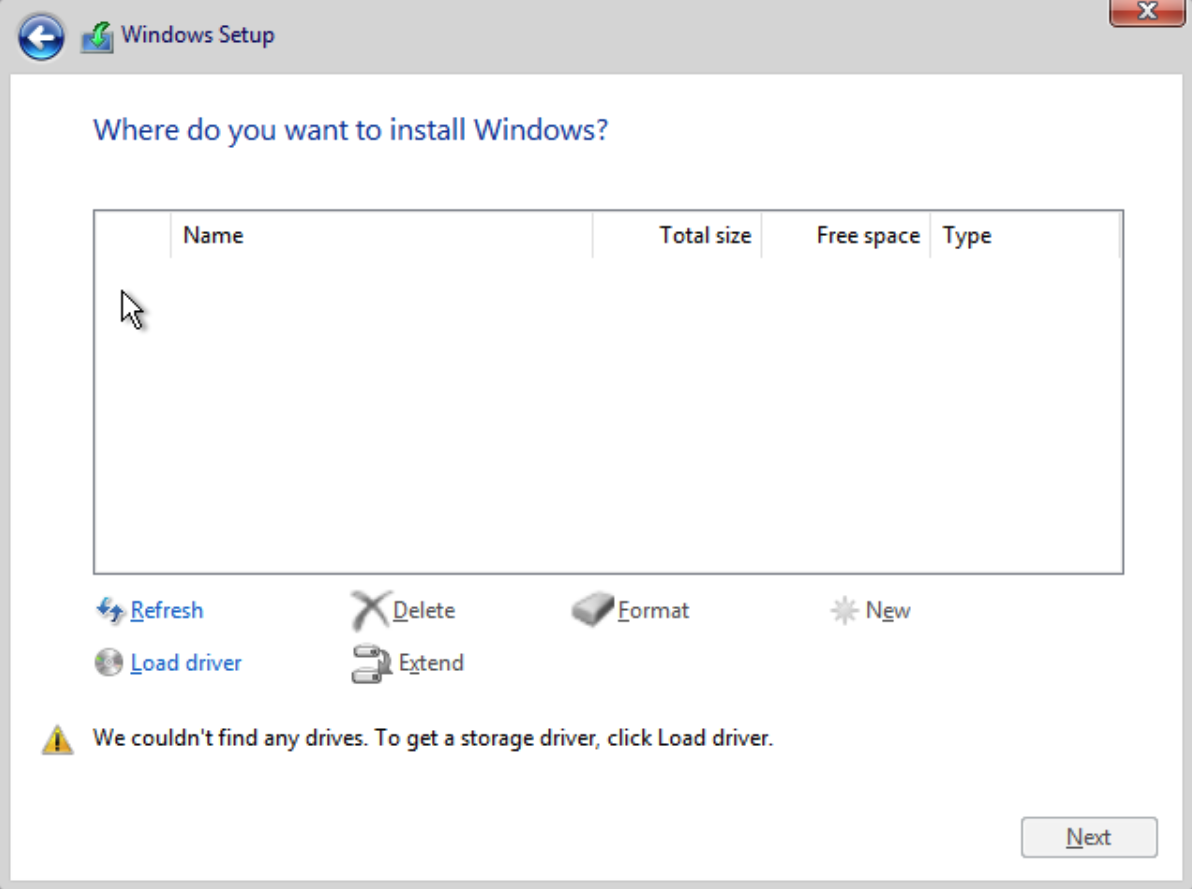
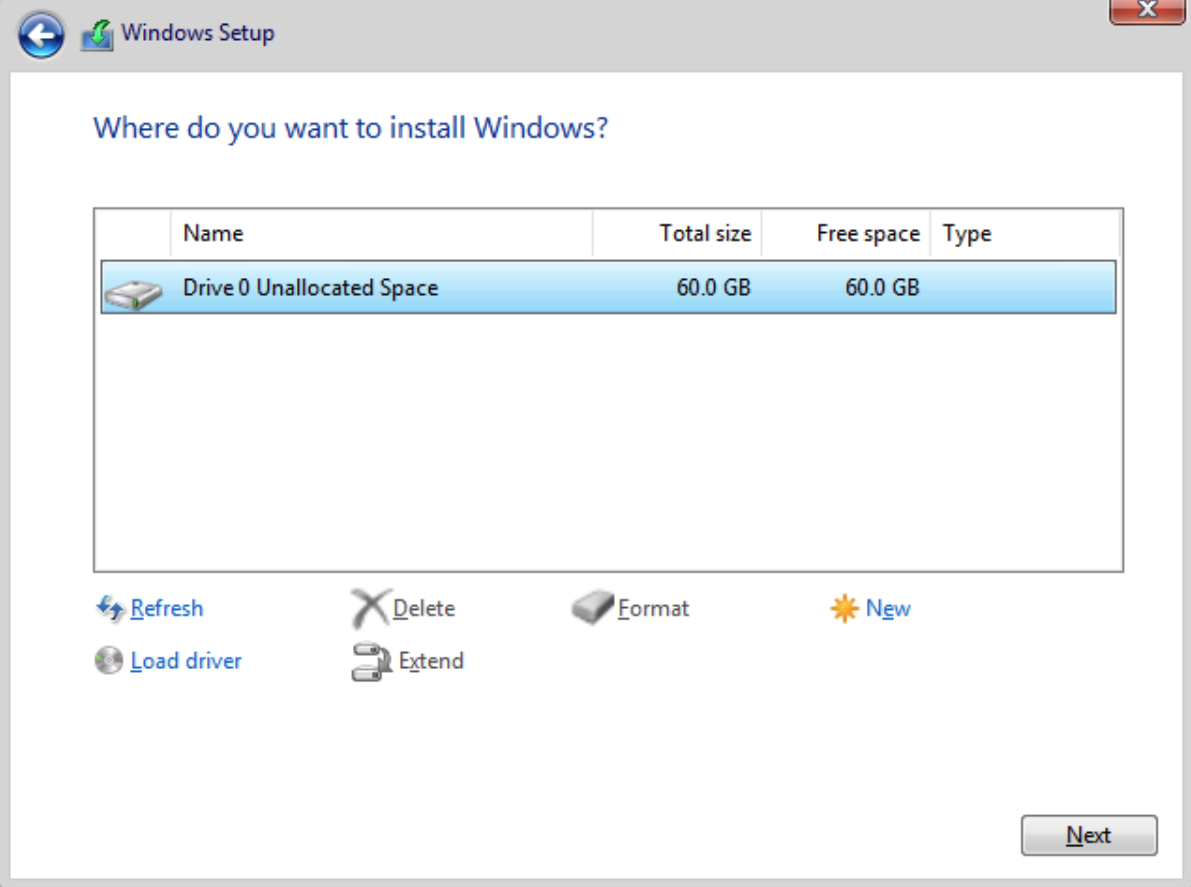
- Power on the VM. Initially, the installer may not detect the hard drive. This is where the VirtIO driver disk comes in.
- Click Load driver, then Browse. This will display the CD-ROM with the VirtIO drivers.
- Expand the drive to locate the vioscsi folder. Inside, you'll find a folder corresponding to your Windows version (e.g., w10 for Windows 10).
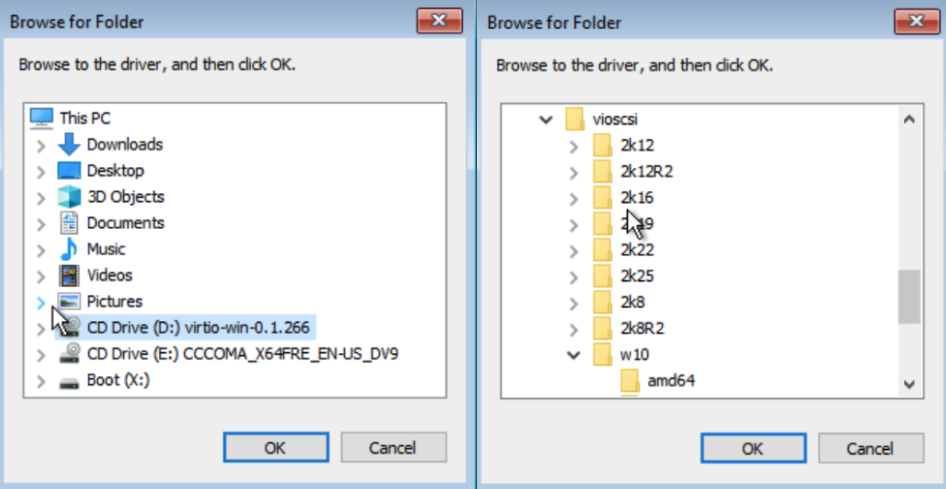
- Select the amd64 folder and click OK to load the drivers. Click Next to proceed.
- The installer should now recognize the hard drive. Select it and click Next to begin the Windows installation.
- Once the installation is complete, log in to your Windows VM.
Installing Drivers and Guest Agent
Drivers
While the initial installation is finished, some devices may have missing drivers.
- Right-click on the Windows icon and select Device Manager. Devices with missing drivers will be indicated by a warning icon.
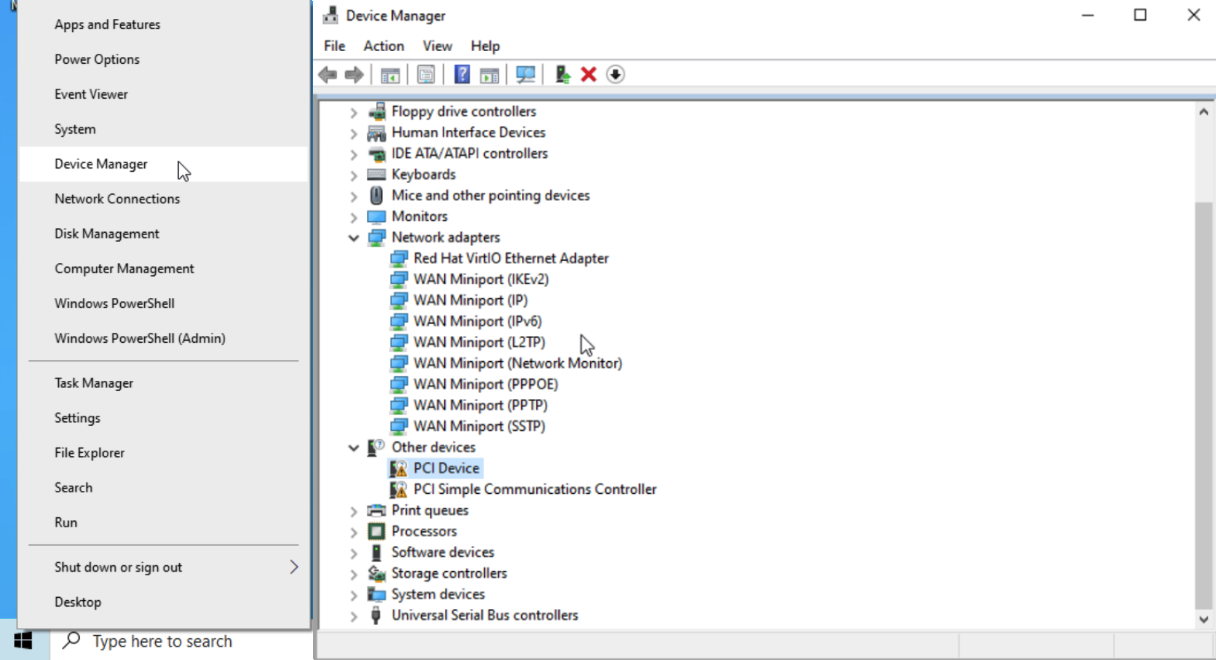
- To install the missing drivers, right-click on the device, select Update driver, then Browse. Browse again and select the VirtIO CD drive.
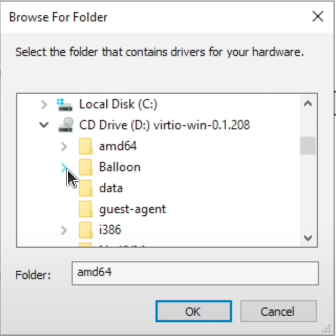
- Click Next. The device should automatically detect and install the necessary driver. If not, manually navigate to the Balloon folder within the VirtIO CD drive, choose the folder matching your OS version, and select amd64.
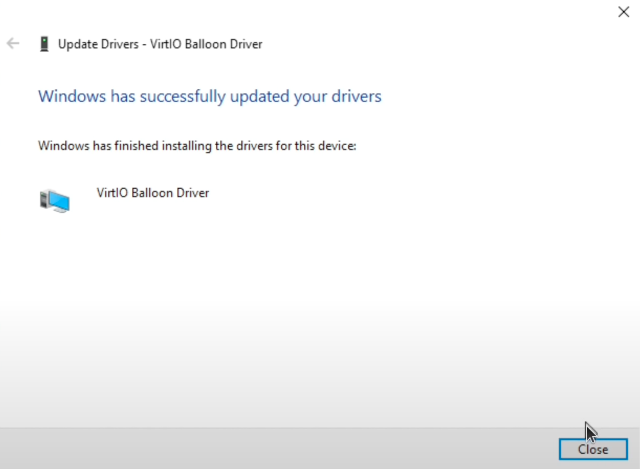
- A successful driver installation will be confirmed with a notification.
- Repeat this process for all devices with missing drivers.
Guest Agent
The qemu-guest-agent is a helper daemon installed within the guest VM. It facilitates communication between the host and guest, enabling commands to be executed within the guest.
To install the qemu-guest-agent:
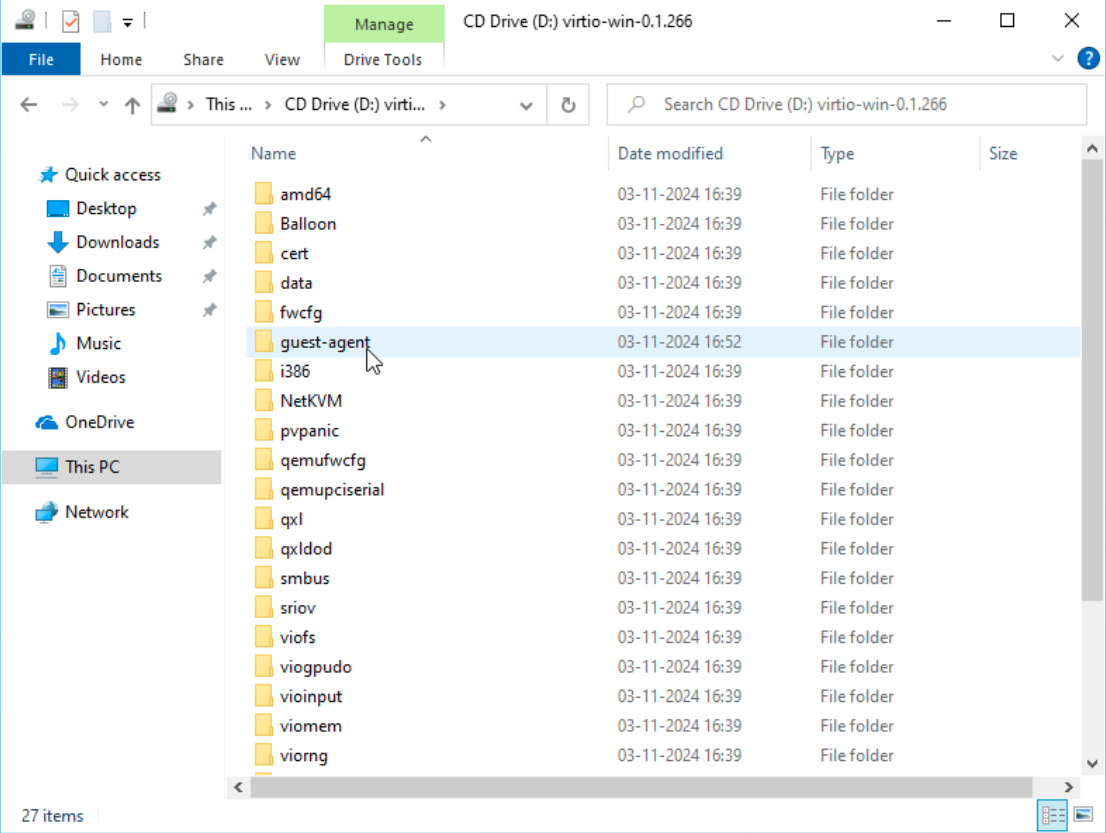
- Open the mounted VirtIO ISO in File Explorer.
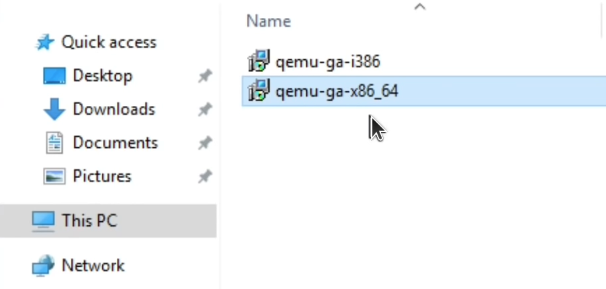
- Locate the guest agent installer in the guest-agent directory.
- Double-click the qemu-ga-x86_64 installer to execute it.
The qemu-guest-agent should now be running. You can verify this in the Windows Services list or via PowerShell: `
1PS C:\Users\Administrator> Get-Service QEMU-GA
2
3Status   Name               DisplayName
4------   ----               -----------
5Running  QEMU-GA            QEMU Guest Agent
If it's not running, start it manually using the Services control panel and configure it to start automatically on boot.
That's it! You've successfully deployed a Windows VM on Proxmox. Enjoy the enhanced performance and flexibility of your virtualized environment.