Seamless File Sharing: Setting Up an SMB Share on TrueNAS SCALE for Linux, Mac, Windows and/or Android.
Accessing Your Data From Anywhere: A Guide to TrueNAS SCALE SMB Shares
Ever wished you could grab your movies, music, or work files from any device on your home network? Well, guess what? With TrueNAS SCALE, it's totally doable! This blog will walk you through setting up an SMB share, which is like having a magic folder everyone can access. Your Linux laptop? Check ✅. Your trusty Mac? Yep 👍. Your Windows PC or even your Android phone? Absolutely 👊! TrueNAS SCALE makes it a breeze to keep all your stuff organized and share it with everyone, no matter what devices they're using. Seriously, it's a game-changer! Say goodbye to device restrictions and hello to centralized data sharing!
Table of Contents
Configuring the Storage Pool
Before setting up an SMB share, you need to create a Storage Pool. This designates the disk that will house all the data you intend to share.
- Navigate to the Storage section and click on the Create Pool option in the top right corner.
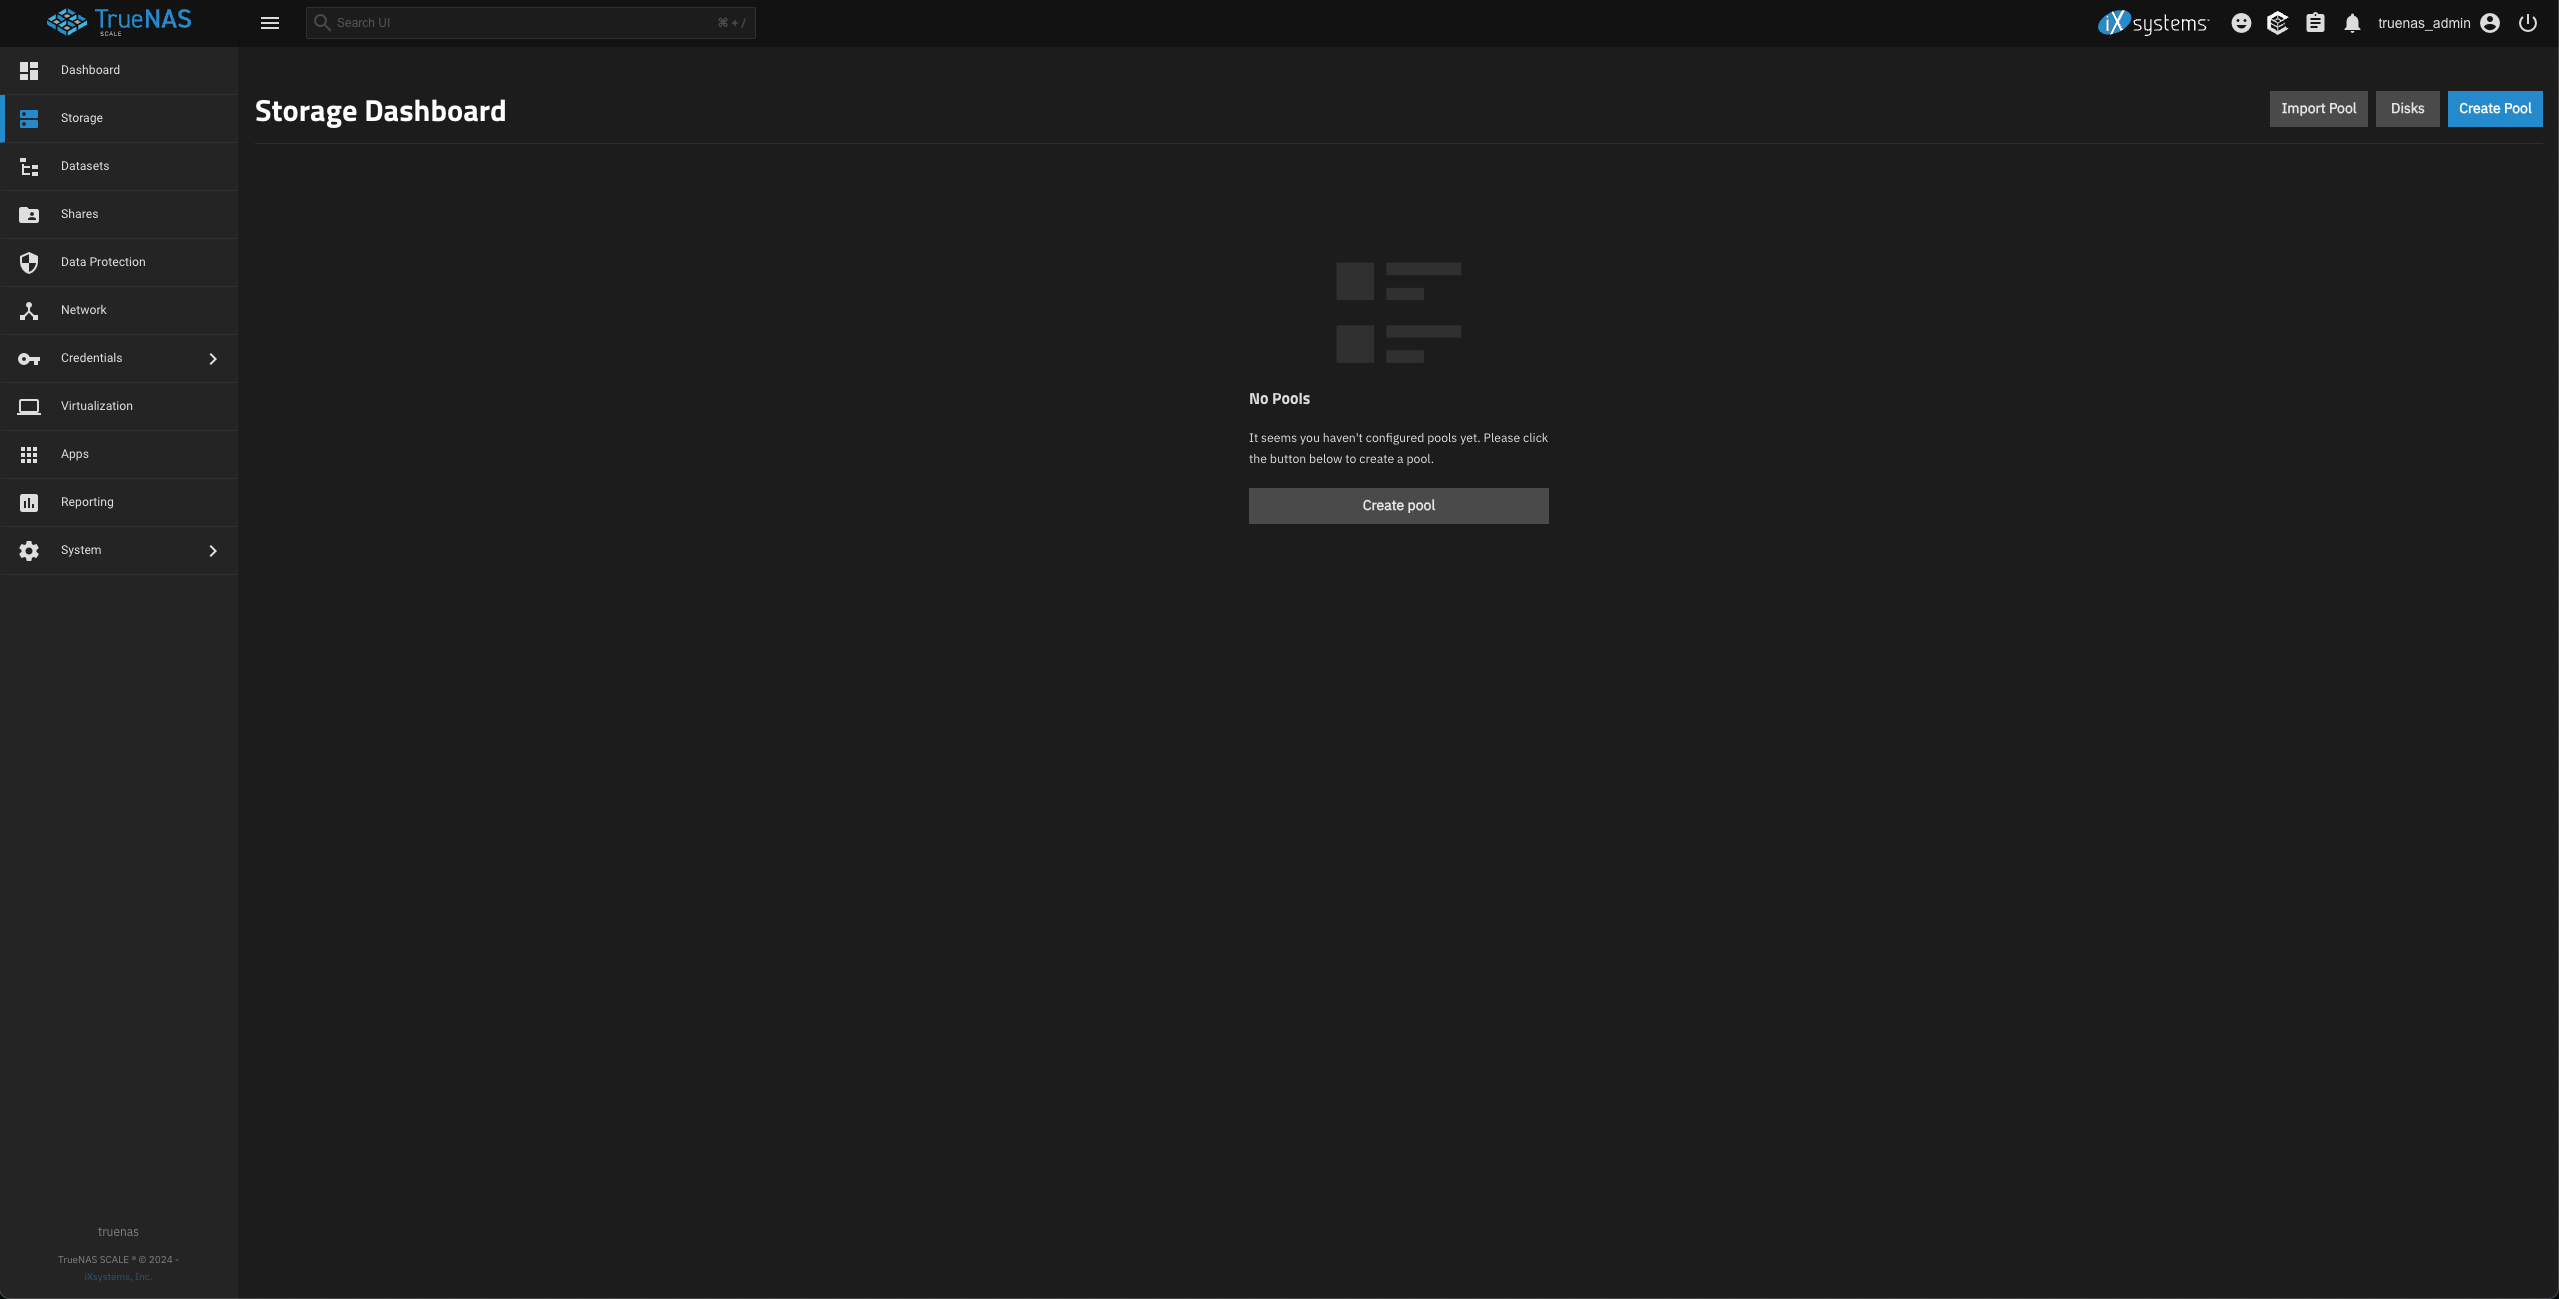
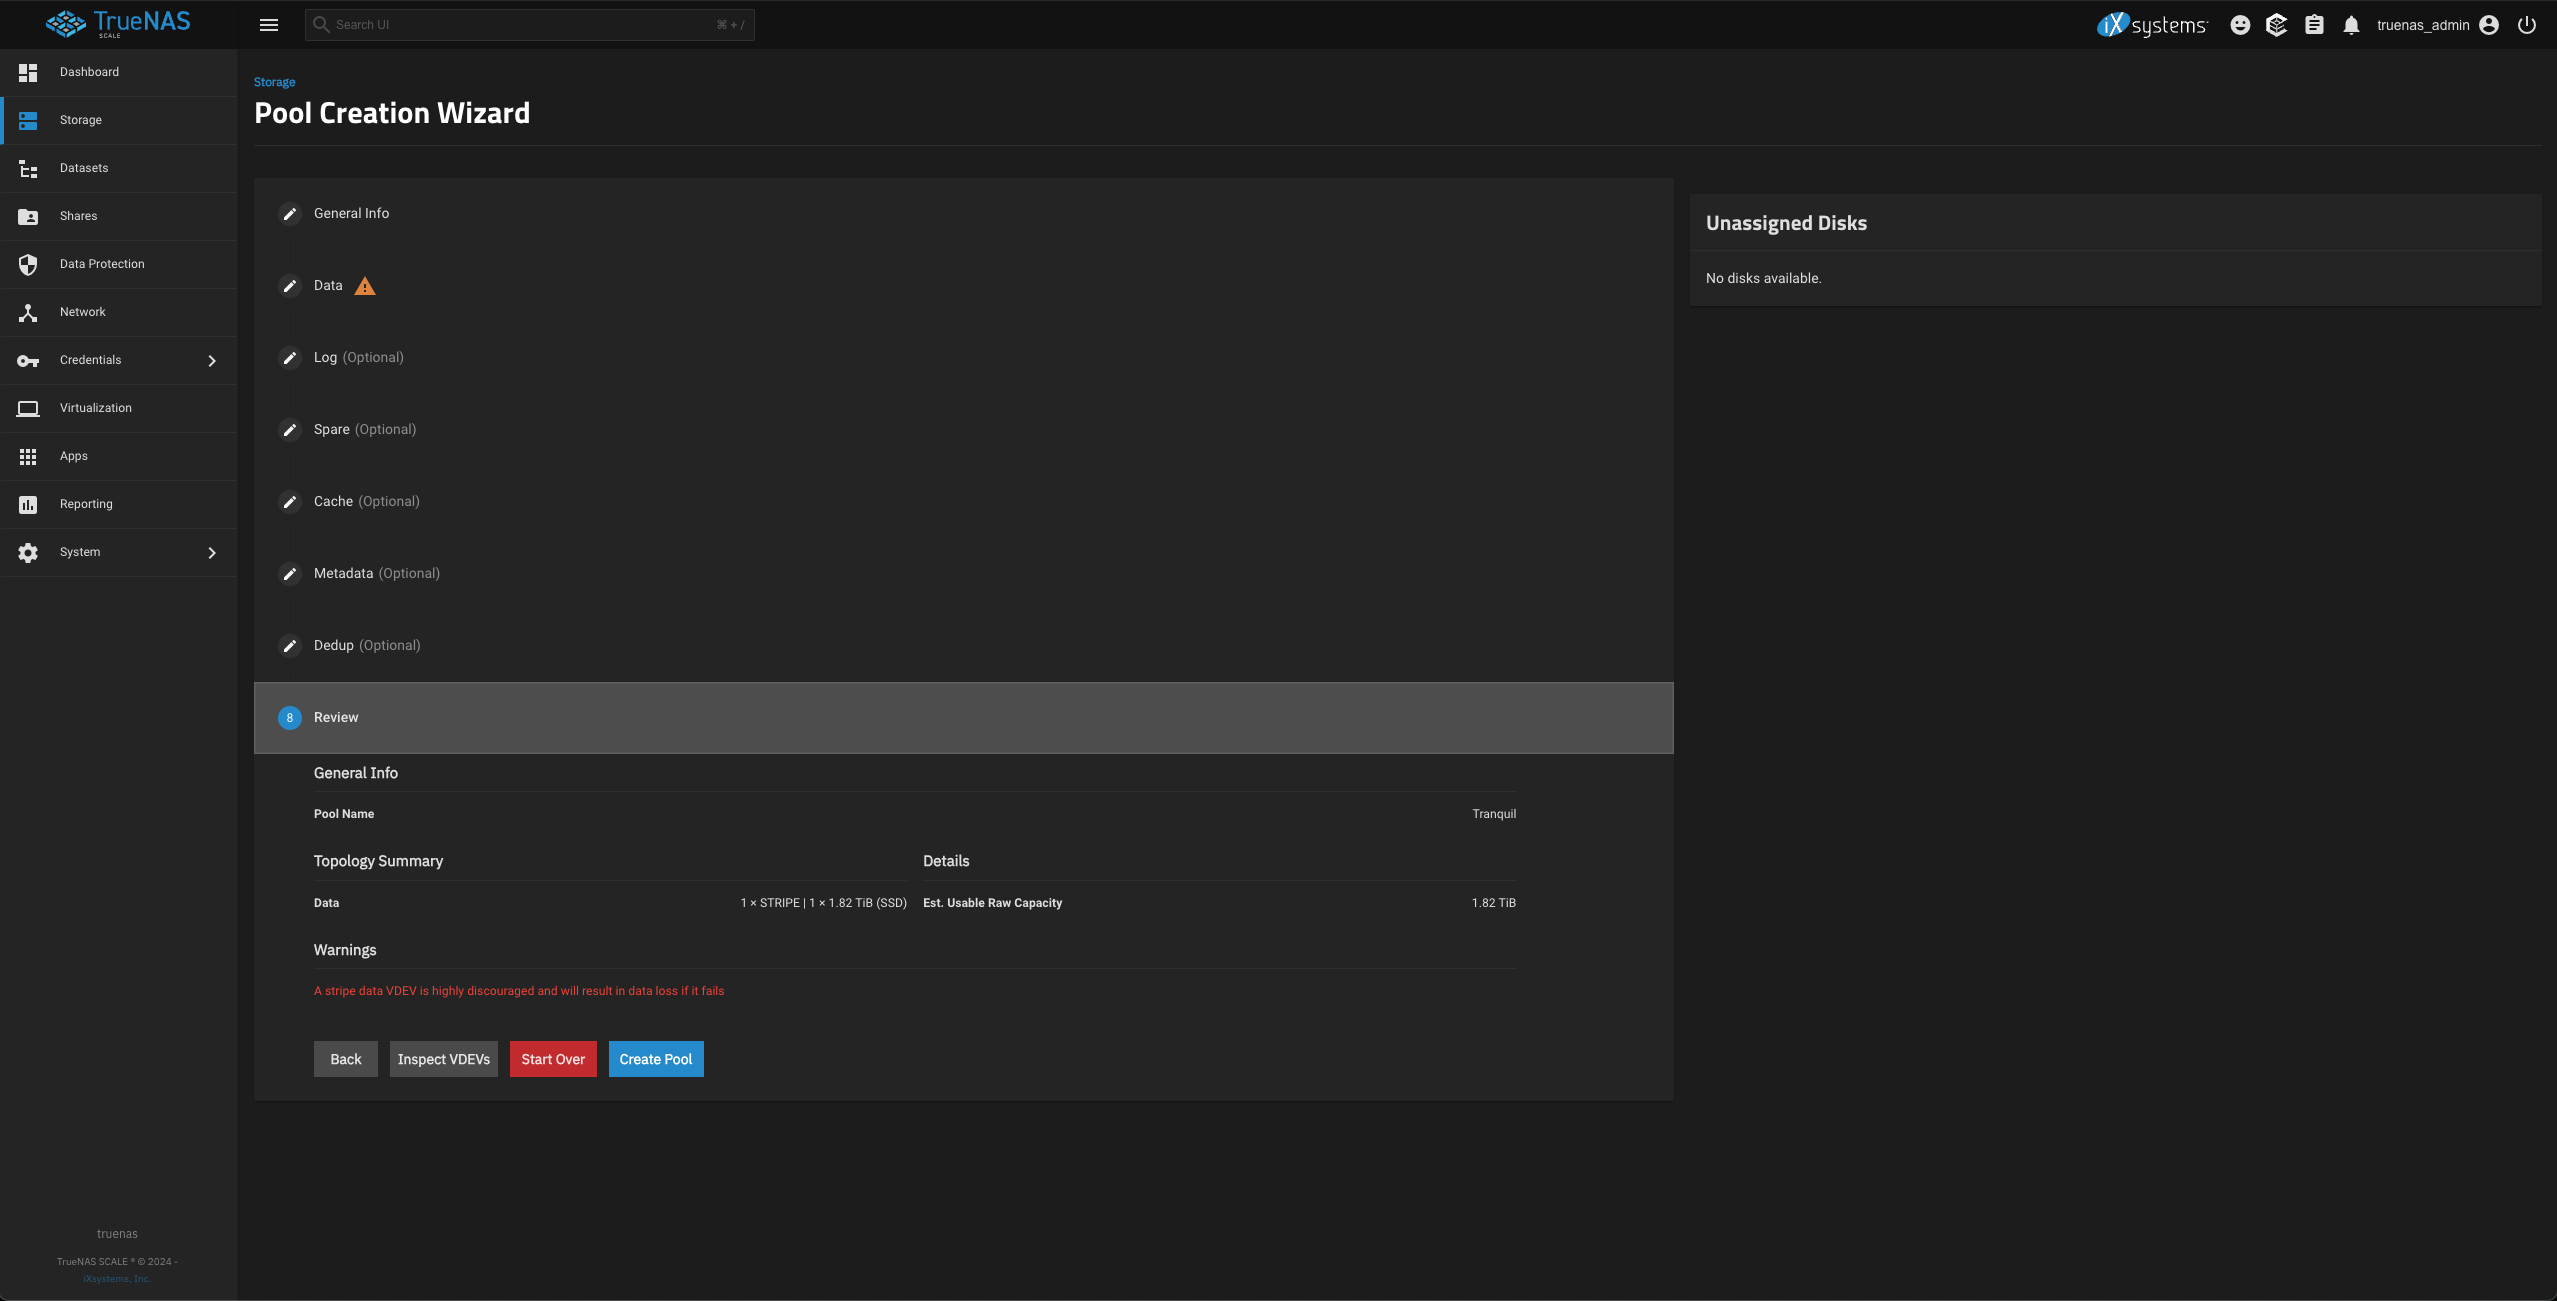
- This launches the Pool Creation Wizard. Assign a Name to your pool and, in the Data section, choose the desired layout from the drop-down menu. For this example, Stripe is selected as only one disk is available.
🔥 Important: This is NOT recommended for production environments or for mission-critical data due to the lack of redundancy. A redundant configuration (like RAID-Z) is crucial for data protection in those scenarios. However, for a test environment, Stripe is sufficient.
- Next, from the Disk Size dropdown, choose the disk that will be used for this Storage Pool.
- Once these selections are made, you can retain the default settings for the remaining options and click on Create Pool.
Configuring Datasets and SMB Shares
Why create a TrueNAS Dataset ? Why not create an SMB share directly?
TrueNAS recommends organizing your Storage Pool with datasets before configuring data sharing. This approach allows for granular control over access permissions and facilitates the use of different sharing protocols.
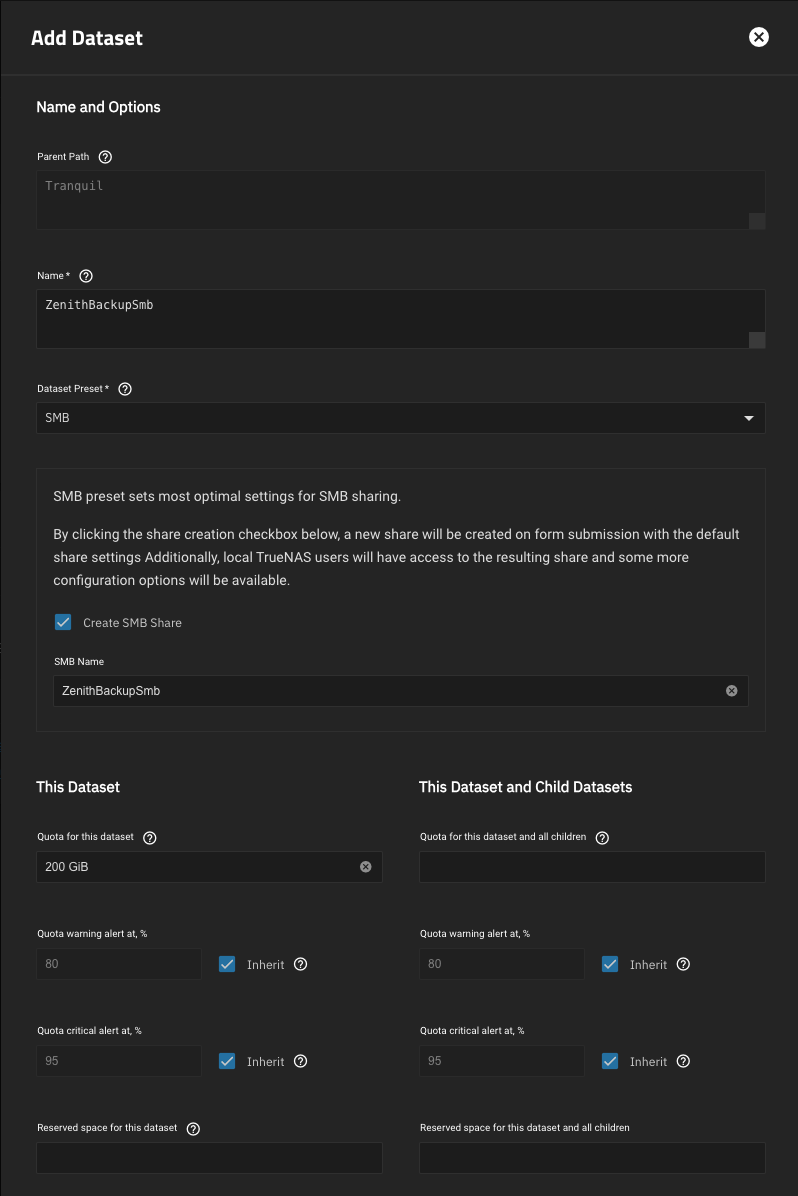
- To create a Dataset, go to the Datasets section on the left navigation pane and click on Add Dataset in the top right corner.
- Give your dataset a name and select SMB from the Dataset Preset drop-down menu.
- Selecting the Create SMB Share checkbox will simultaneously create the corresponding SMB share.
- You can assign a quota to this dataset, providing control over disk space allocation for shares within the dataset.
- Keep the remaining values at their default settings and click Save to create the dataset and the SMB share.
Enabling the Windows (SMB) Shares service
With the SMB Share created, you need to enable the SMB sharing service. To do so:
- Navigate to the Shares section in the left navigation pane, click on the three-dot menu for Windows (SMB) Shares, and select Turn On Service.
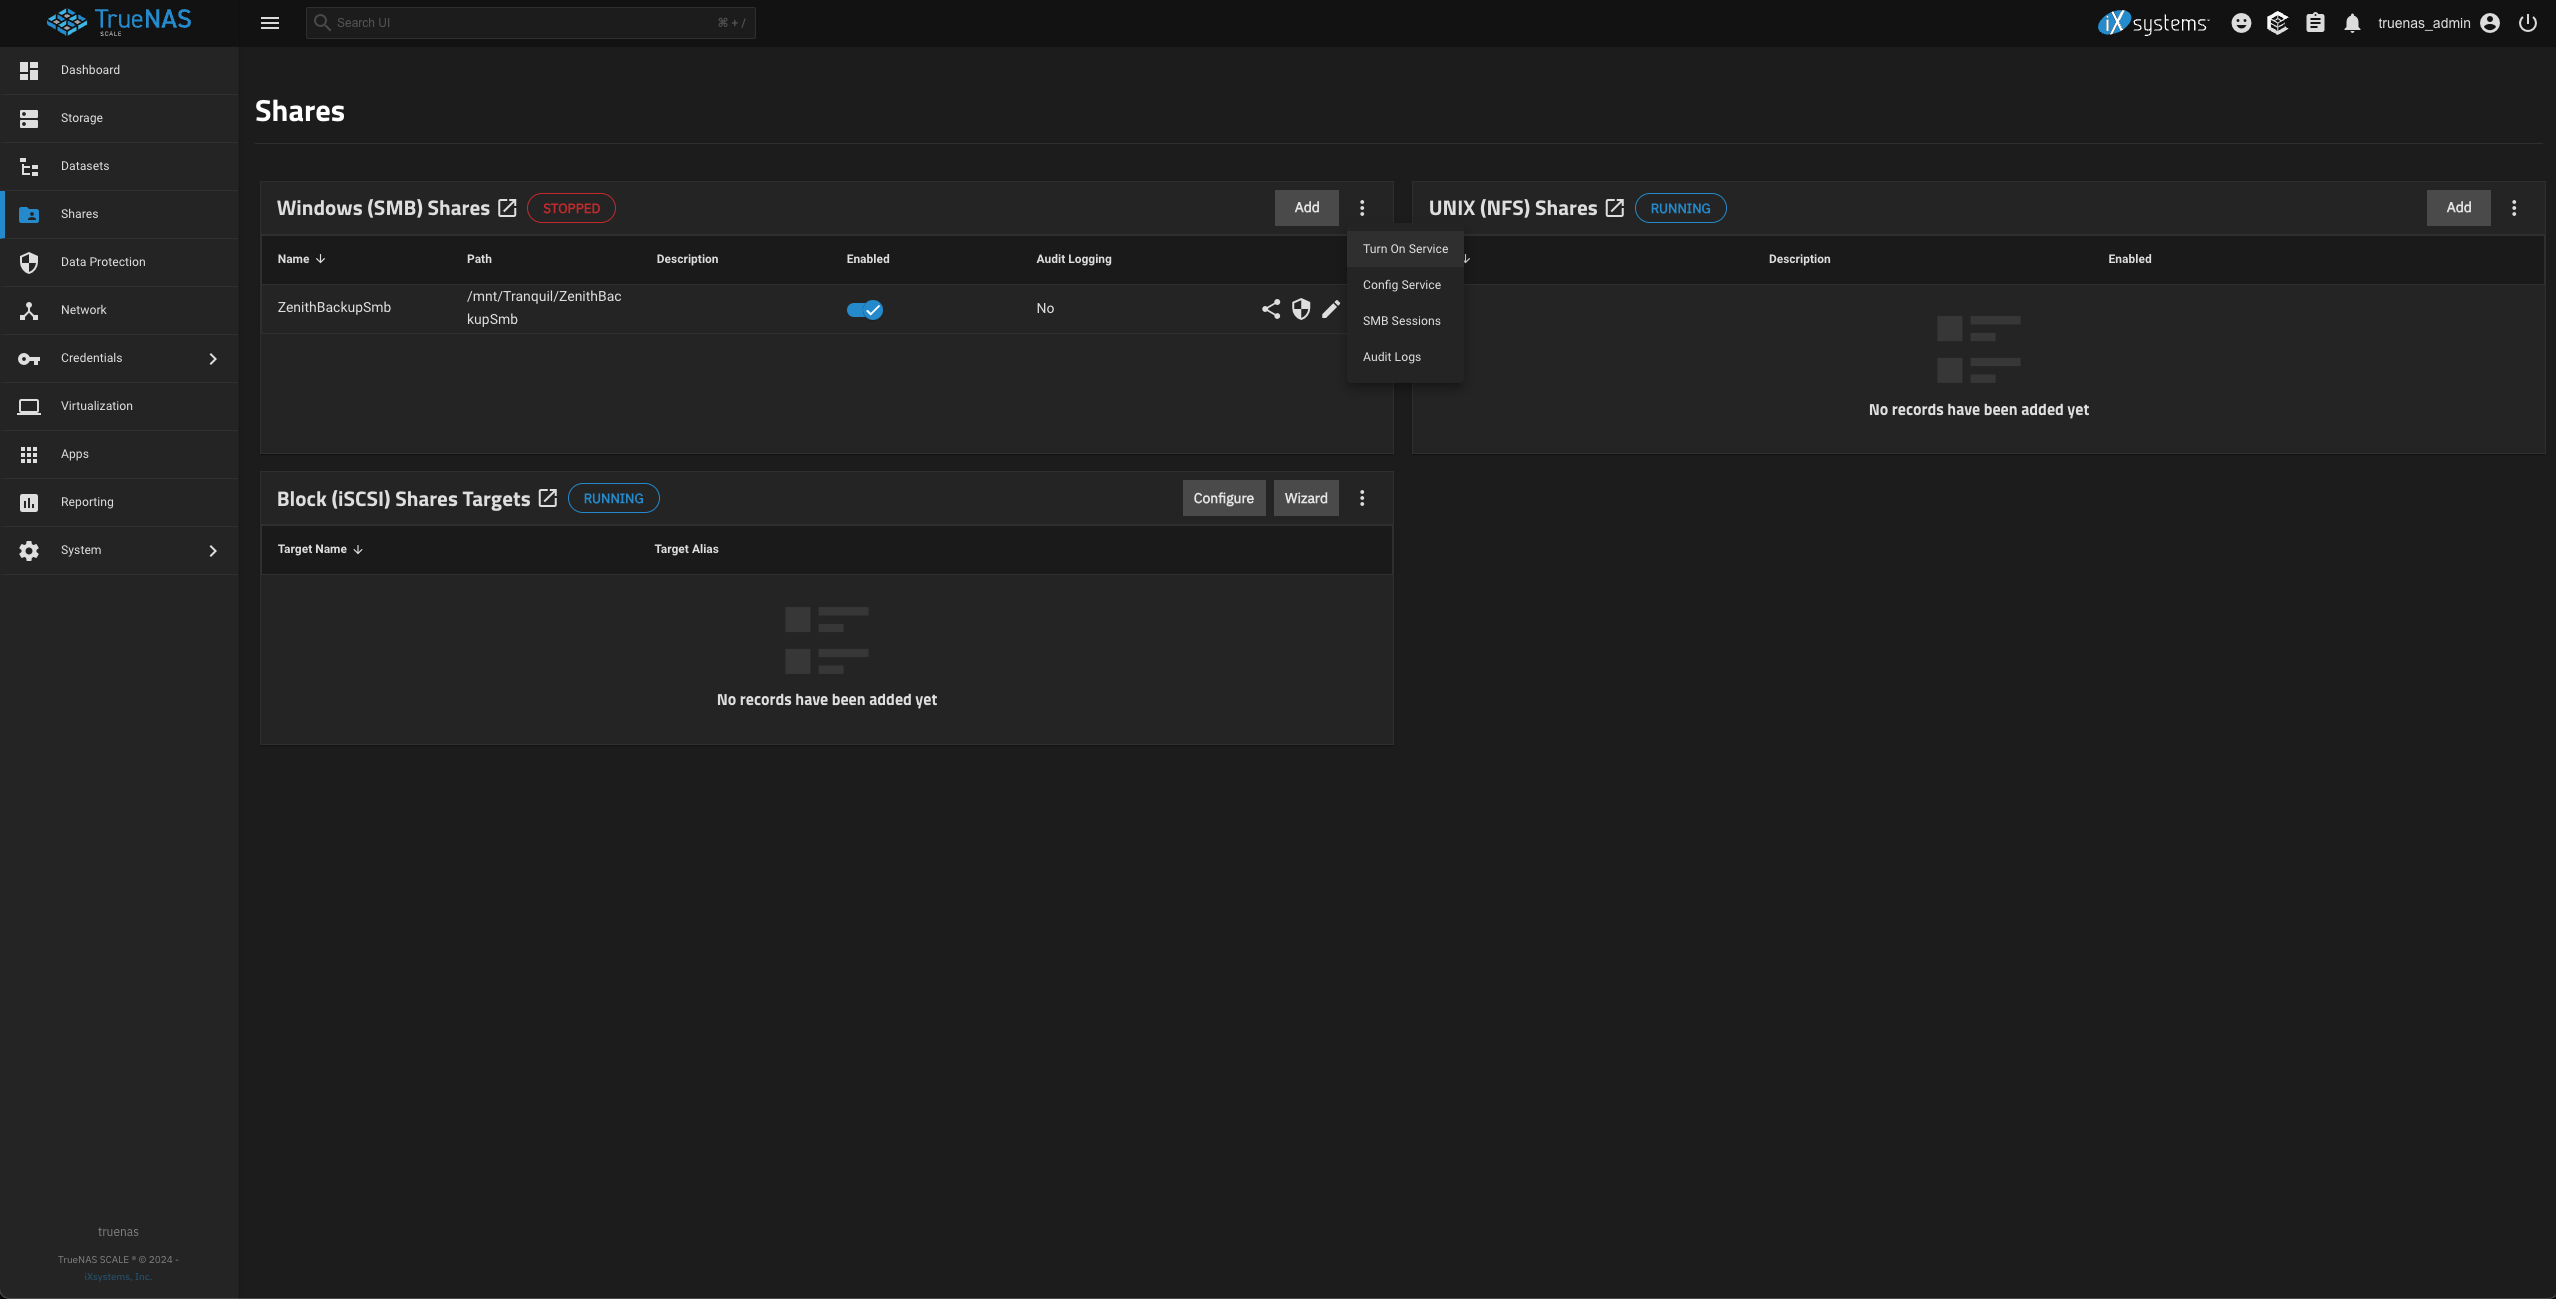
- The service status should change to RUNNING if it starts without any issues.
Configuring Users and ACLs for SMB Shares
To restrict access to the SMB share to specific users, create a user and map it to the share using Access Control Lists (ACLs). Follow these steps:
- Click on Credentials in the left navigation pane and select Users.
- Click the Add button in the top right corner and provide the username, password, and other required details.
- Crucially, ensure that the SMB User checkbox is selected. This allows the user to authenticate to Samba shares.
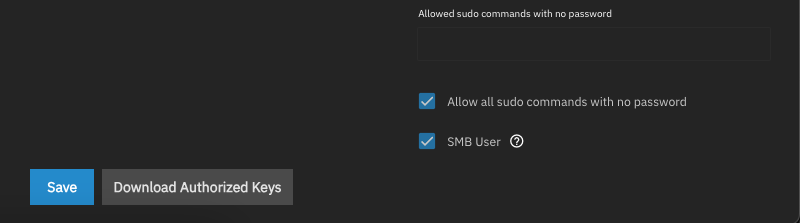
- Click Save to create the user.
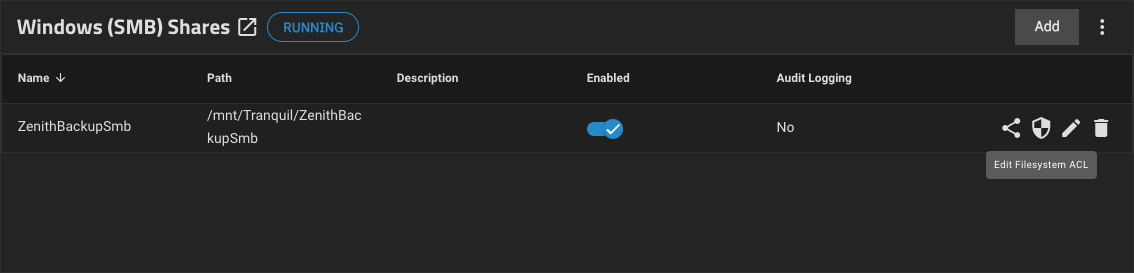
- Navigate to Shares in the left navigation pane to configure the ACL for the created share.
- Click on the shield icon of the share labeled Edit Filesystem ACL.
- In the Edit ACL dashboard, remove any pre-existing ACLs and click Add Item to add the user you created for accessing this share.
- Select this user as the Owner and Owner Group, ensuring that the Apply Owner and Apply Group checkboxes are ticked.
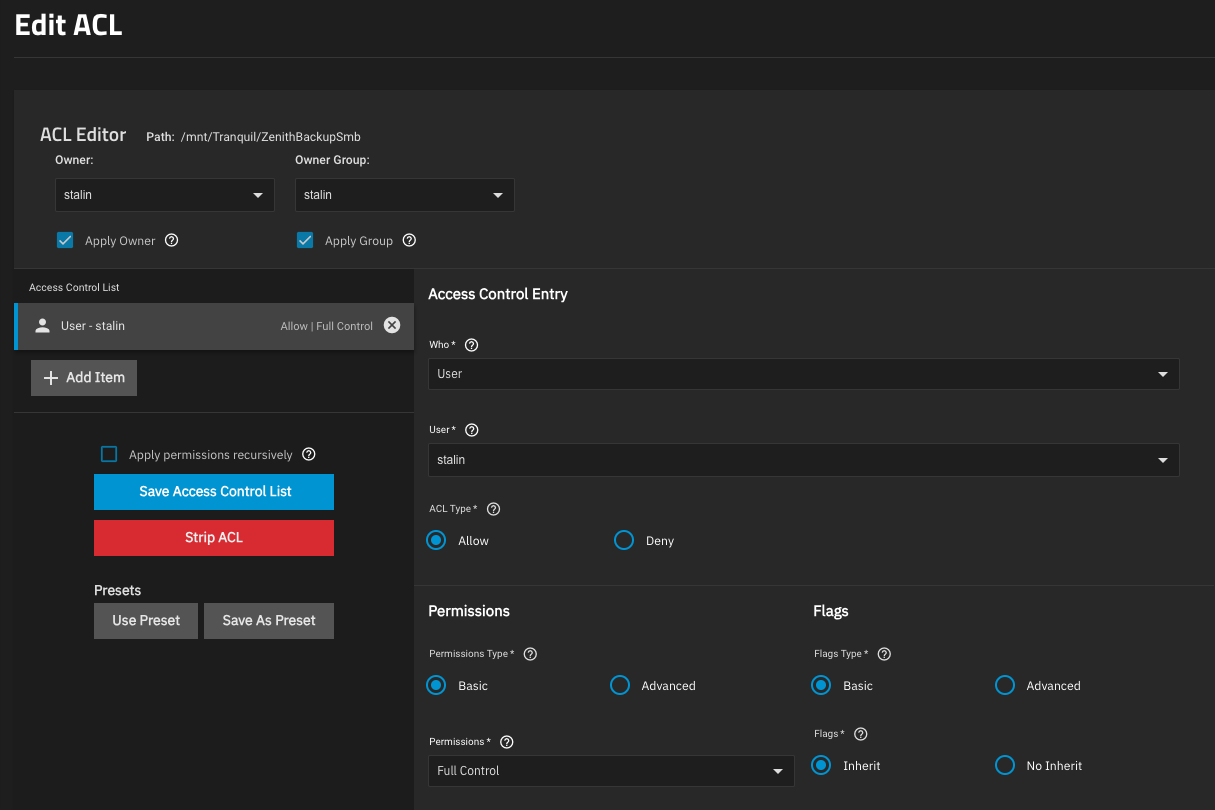
- Click Save Access Control List. You should now be able to access the SMB share with the configured user.
Accessing the SMB Share
Now, let's explore how to access the SMB share from Mac, Linux, and Android devices.
Mac
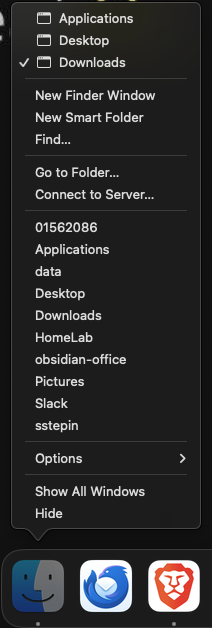
- Right-click on the Finder icon in your dock and select Connect to Server.
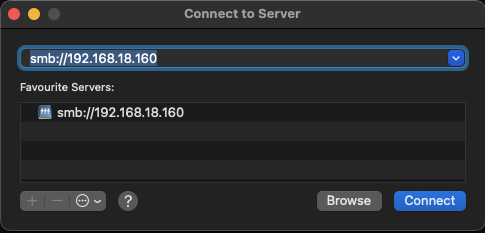
- Enter the IP address of your TrueNAS server in the Server Address field in the following format: smb://192.168.18.160, then click Connect.
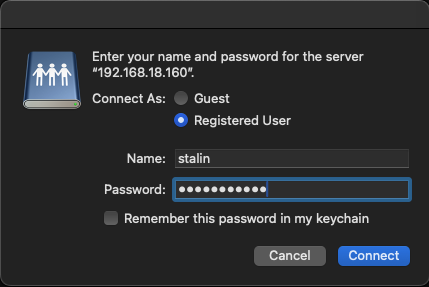
- If configured correctly, TrueNAS will prompt you for authentication details.
- Enter your credentials and click Connect.
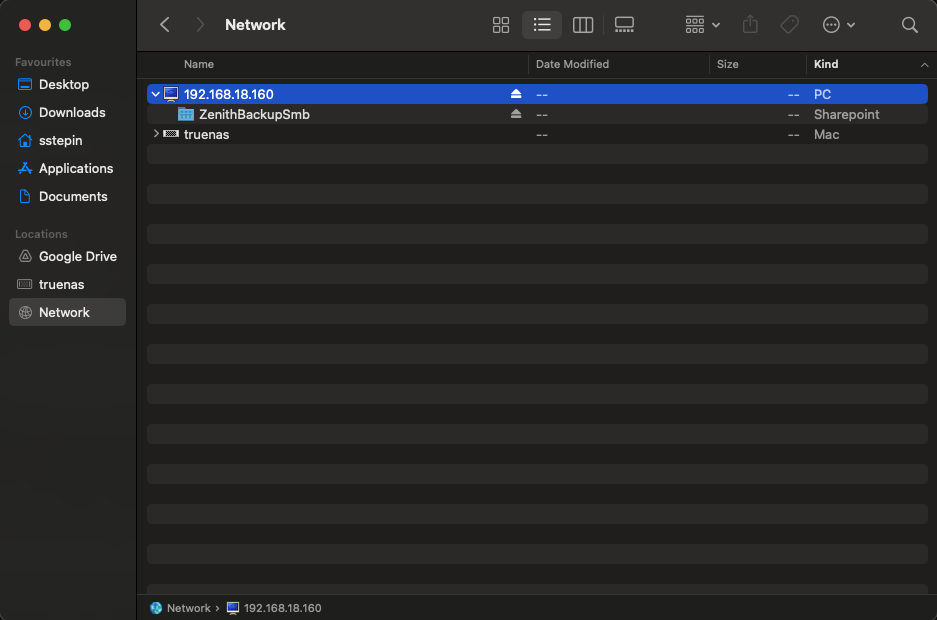
- You should now have access to the SMB share on your Mac.
🐧 Linux
SMB (Server Message Block) shares are also known as CIFS (Common Internet File System) shares. To access SMB shares on Linux, you first need to install the smbclient and cifs-utils packages.
- Execute the following command to install these packages:
1# Ubuntu
2sudo apt-get install smbclient cifs-utils -y
- Once the installation is complete, use the smbclient command to verify that you can see the SMB share:
1# Replace 192.168.18.160 with your TrueNAS server's IP address.
2# Enter the password for user 'stalin' when prompted.
3
4smbclient -L 192.168.18.160 -U stalin
1# Example output:
2
3  Sharename       Type      Comment
4  ---------       ----      -------
5  IPC$            IPC       IPC Service (TrueNAS Server)
6  ZenithBackupSmb Disk
7SMB1 disabled -- no workgroup available
- To access the ZenithBackupSmb share, create a directory where the share will be mounted:
1mkdir /home/stalin/ZenithSmbShare
2sudo mount -v -t cifs //192.168.18.160/ZenithBackupSmb -o username=stalin /home/stalin/ZenithSmbShare/
- The share should now be accessible under /home/stalin/ZenithSmbShare/.
- To make the mount persistent across reboots, you can add an entry to your /etc/fstab file. This will be covered in detail in a separate blog post.
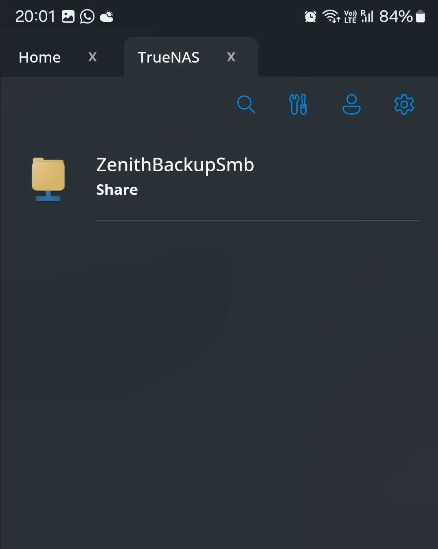
📱 Android
- Many Android phones have built-in file explorer app with network storage capabilities. If this isn't available on your device, you can install a third-party app like Network Browser from the Play Store.
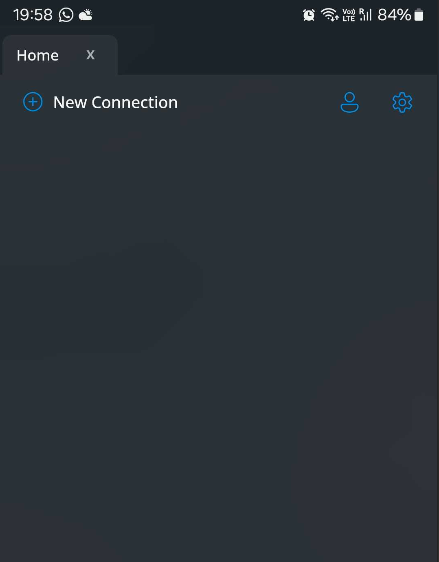
- Once installed, open the app and tap New Connection.
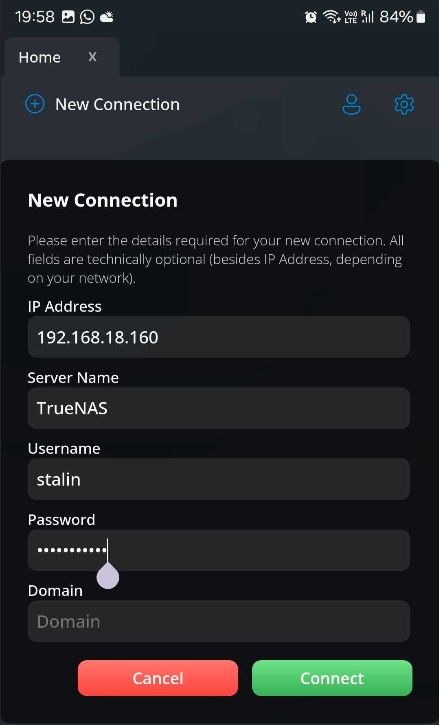
- Fill in the connection details, replacing the example values with your actual setup, and tap Connect.
- This should establish a connection to your TrueNAS server.
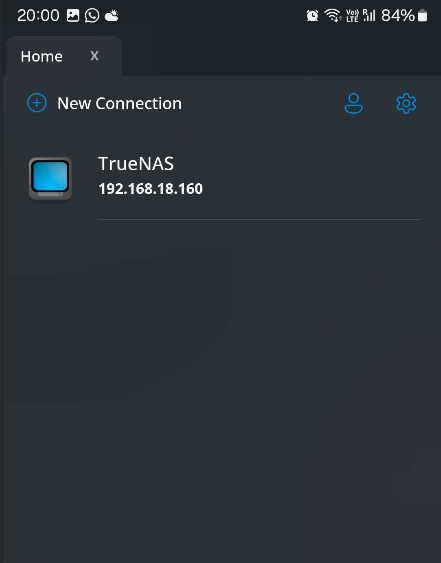
- Tap on the TrueNAS server entry, and you should see the available SMB share.