How to build custom images using Hashicorp Packer.

Introduction
Have you ever faced inconsistent configurations every time you set up your production, staging, or development environment? Maybe a server works perfectly in dev but breaks unexpectedly in production, or your team spends hours troubleshooting issues caused by configuration drift. These frustrations are common when environments are built manually or rely on ad-hoc automation.
In today’s fast-paced infrastructure landscape, reliability, repeatability, and speed are non-negotiable. Teams need a way to ensure that every environment, no matter where it runs, starts from a consistent baseline. This is where HashiCorp Packer becomes an essential part of the modern infrastructure toolset.
Packer allows you to define machine images as code, automate their creation, and guarantee that every server you deploy contains the exact same configuration, dependencies, and services from the moment it boots. Whether you're building AMIs for AWS, VM images for on-prem, or standardized base container images for your CI/CD workflows, Packer ensures that what you build is predictable, secure, and production-ready.
Installation
Before you begin building customized machine images, you’ll need to install HashiCorp Packer on your system. Packer is lightweight and easy to set up, and HashiCorp provides installation packages for MacOS, Linux and Windows. If you prefer detailed or platform-specific options, you can always refer to the official documentation here.
I used the below steps to install Packer on MacOS.
1# Add HashiCorp’s official Homebrew tap to your local Homebrew installation.
2brew tap hashicorp/tap
3
4# Install packer
5brew install hashicorp/tap/packer
6
7# To validate the installation
8packer version
Understanding Packer Templates
A Packer template defines everything Packer needs to know in order to build a machine image. It follows a declarative structure and is broken into three key components: builders, provisioners, and post-processors. Understanding these is essential before you begin creating your own templated images.
Builders: Builders define where the image will be created - for example, an AWS AMI, Azure image, VMware VM, or Docker image. For AWS, you typically use the amazon-ebs or amazon-ebssurrogate builder.
Provisioners: Provisioners define how your image is configured. This can include installing packages, setting up system services, adding files, running shell scripts, or using tools like Ansible or Chef.
Post-Processors: Post-processors define what happens after the image is built, such as compressing images, pushing them to a registry, or generating metadata files.
By combining these three components, Packer allows you to build highly customized images in a predictable and automated manner.
Creating Your First Packer Template
To follow along, you can download the source code from my GitRepo. Then head over to hashicorp_packer/prometheus path to get the manifests that I used in the below example.
Once you are inside the hashicorp_packer/prometheus directory, you should be able to see the following files and folders. Lets take a closer look at each file and understand what it does.
 1├── build.sh
 2├── files
 3│   ├── deploy_prometheus.sh
 4│   ├── install_docker.sh
 5│   ├── install_prometheus_node_exporter.sh
 6│   ├── node_exporter.service
 7│   ├── prometheus_config.yaml
 8│   ├── prometheus_docker_compose.yaml
 9│   ├── setup.sh
10│   ├── update_ip.service
11│   ├── update_ip.sh
12│   └── update_prometheus_config.sh
13├── main.pkr.hcl
14└── variables.pkrvars.hcl
✅ Packer main.pkr.hcl template file:
- All packer files are written in HCL (HashiCorp Configuration Language) format.
- This is the main packer template file.
- This example uses the AWS amazon-ebs builder.
 1# Installing Amazon Plugin for Hashicorp to communicate with AWS via API:
 2packer {
 3  required_plugins {
 4    amazon = {
 5      version = ">= 1.1.0"
 6      source  = "github.com/hashicorp/amazon"
 7    }
 8  }
 9}
10
11# Passing Default Variables:
12variable "instance_type" {
13  type    = string
14  default = "t2.xlarge"
15}
16
17variable "ami_region" {
18  type    = string
19  default = "ap-south-1"
20}
21
22variable "source_ami" {
23  type    = string
24  default = "ami-06c28eeae75712f2d"
25}
26
27variable "ssh_username" {
28  type    = string
29  default = "ubuntu"
30}
31
32variable "ssh_keypair_name" {
33  type    = string
34  default = "aws_testing_keypair"
35}
36
37variable "ssh_private_key_file" {
38  type    = string
39  default = "/tmp/aws_packer_keypair.pem" # Update your key here.
40}
41
42variable "vpc_id" {
43  type    = string
44  default = "vpc-0xxxxxxxxxxx1c7b" # Update this value.
45}
46
47variable "subnet_id" {
48  type    = string
49  default = "subnet-021xxxxxxxxxxxf6d" # Update this value.
50}
51
52variable "security_group_id" {
53  type    = string
54  default = "sg-0fxxxxxxxxxxx94" # Update this value.
55}
56
57# Amazon Builder Configuraiton:
58source "amazon-ebs" "prometheus" {
59  ami_name                    = "prometheus"
60  instance_type               = var.instance_type
61  region                      = var.ami_region
62  source_ami                  = var.source_ami
63  ssh_username                = var.ssh_username
64  ssh_keypair_name            = var.ssh_keypair_name
65  ssh_private_key_file        = var.ssh_private_key_file
66  vpc_id                      = var.vpc_id
67  subnet_id                   = var.subnet_id
68  associate_public_ip_address = true
69  security_group_id           = var.security_group_id
70  tags = {
71    OS_Version    = "Ubuntu"
72    Release       = "Latest"
73    Owner         = "Stalin Stepin"
74    Base_AMI_Name = "{{ .SourceAMIName }}"
75    Provisioner   = "Packer"
76  }
77}
78
79# Invoking the builder
80build {
81  name    = "prometheus_build_using_packer"
82  sources = ["source.amazon-ebs.prometheus"]
83
84  provisioner "file" {
85    source      = "/Users/sstepin/Quickstart_labs/packer_projects/prometheus/files/files.tar.gz" # This file gets created only once the "build.sh" script is triggered. So, don't panic if you do not see this file in the repo.
86    destination = "/tmp/"
87  }
88
89  provisioner "shell" {
90    inline = [
91      "echo 'Uncompressing files'",
92      "tar -C /tmp -zxvf /tmp/files.tar.gz > /dev/null 2>&1",
93      "echo 'Completed uncompression!'",
94      "sh /tmp/setup.sh"
95    ]
96  }
97}
This simple template:
- Uses the amazon Plugin to talk with AWS.
- Picks up the default variables if values are not present/defined in the variables.pkrvars.hcl file.
- Selects an Ubuntu AMI.
- Deploys a temporary EC2 instance with defined VPC, subnet, security group and SSH Key in the specified region.
- Runs provisioning commands.
- Creates a new AMI with your changes baked into it.
✅ User defined variables:
1ami_region    = "ap-south-1"
2instance_type = "t2.large"
3source_ami        = "ami-0f457776b2f2411c1"
4ssh_username      = "ubuntu"
5ssh_keypair_name  = "aws-testing-keypair"
6vpc_id            = "vpc-04xxxxxxxxxxx1c7b" # Update this value.
7subnet_id         = "subnet-02xxxxxxxxxxxf6d" # Update this value.
8security_group_id = "sg-0fxxxxxxxxxxx94" # Update this value.
9ssh_private_key_file = "/tmp/aws_packer_keypair.pem"  # Update your key here.
- The variables.pkrvars.hcl file contain the values that will override the default variables defined in the main.pkr.hcl packer template at build time.
✅ The build.sh script:
1#!/bin/bash
2(cd files/ && tar -zcvf files.tar.gz *)
3packer fmt .
4packer validate .
5packer build -var-file=variables.pkrvars.hcl main.pkr.hcl
6(cd files/ && rm -rf files.tar.gz)
This script when executed:
- Will create a compressed file with all the artificats presents in the files directory.
- Formats packer configuration files to follow packers standard formatting convertions using the packer fmt command.
- Checks if the packer template is syntactically correct and logically consistent before the packer build is triggered using the packer validate command.
- Triggers the packer build using the defined variables file and the packer template file.
- Finally, performs a clean up of the compressed file from the local machine once the build is completed.
✅ Files used by Provisioner:
- The files directory contains all the scripts and services which will be used by the provisioner.
- These files would be un-compressed once the instance is up and running.
- The provisioner would then execute the setup.sh script which will:
- Download, deploy Prometheus Exporter and start it using a service unit file.
- Installs Docker and sets up the Docker Compose directories.
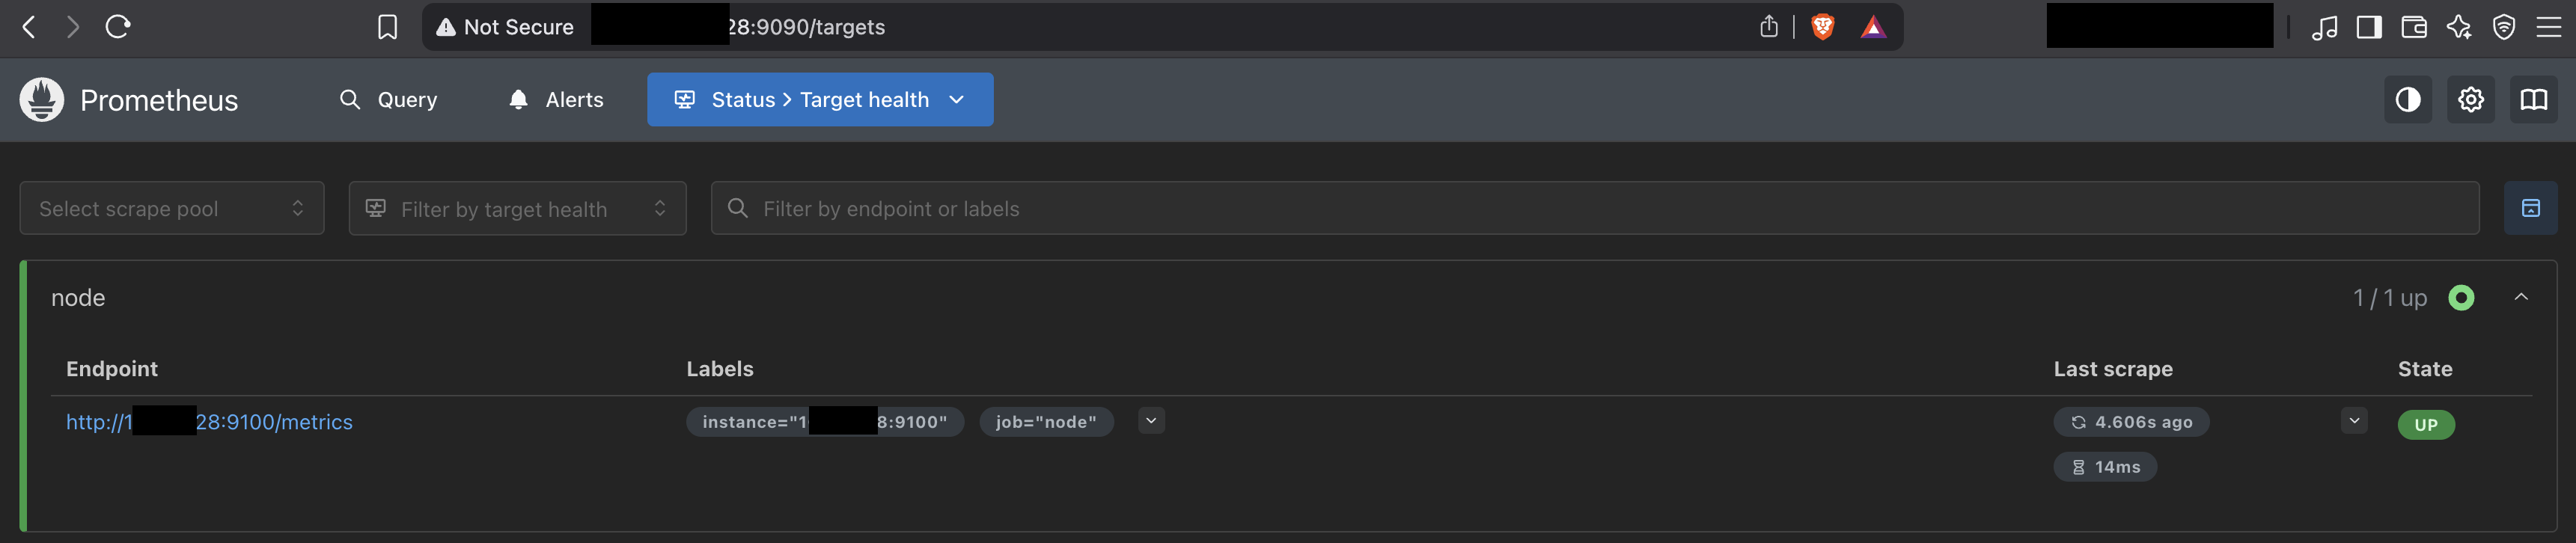
- Finally, deploys Prometheus Server using docker compose and starts scraping metrics from Prometheus Exporter.
Configuring AWS Authentication
Now that you have all the files ready, lets quickly go ahead and configure the authentication part so that packer is able to communicate with AWS using the amazon plugin defined in the main.pkr.hcl packer template. Check out the Amazon Authentication section of Hashicorp Packer to learn more about the supported Authentication mechanism for the Amazon Plugin.
I already have my credentials configured using the IAM Task or Instance Role method which I use for other projects and hence, I should be good to go ahead. This is the preferred approach over any other when running in EC2 as you can avoid hard coding credentials. Instead these are leased on-the-fly by the plugin, which reduces the chance of leakage. However, you can check the linked document in this section and choose your preferred method.
Building Your First Image
To create your first AWS AMI using packer, lets run the build.sh script:
1./build.sh
Upon a successful build, you should be able to see an output similar to this:
1Build 'prometheus_build_using_packer.amazon-ebs.prometheus' finished after 5 minutes 41 seconds.
2==> Wait completed after 5 minutes 41 seconds
3==> Builds finished. The artifacts of successful builds are:
4--> prometheus_build_using_packer.amazon-ebs.prometheus: AMIs were created:
5ap-south-1: ami-0xxxxxaxxxxxxxxxxxx
And, from your AWS console, you should now be able to see your new AMI built by Packer.
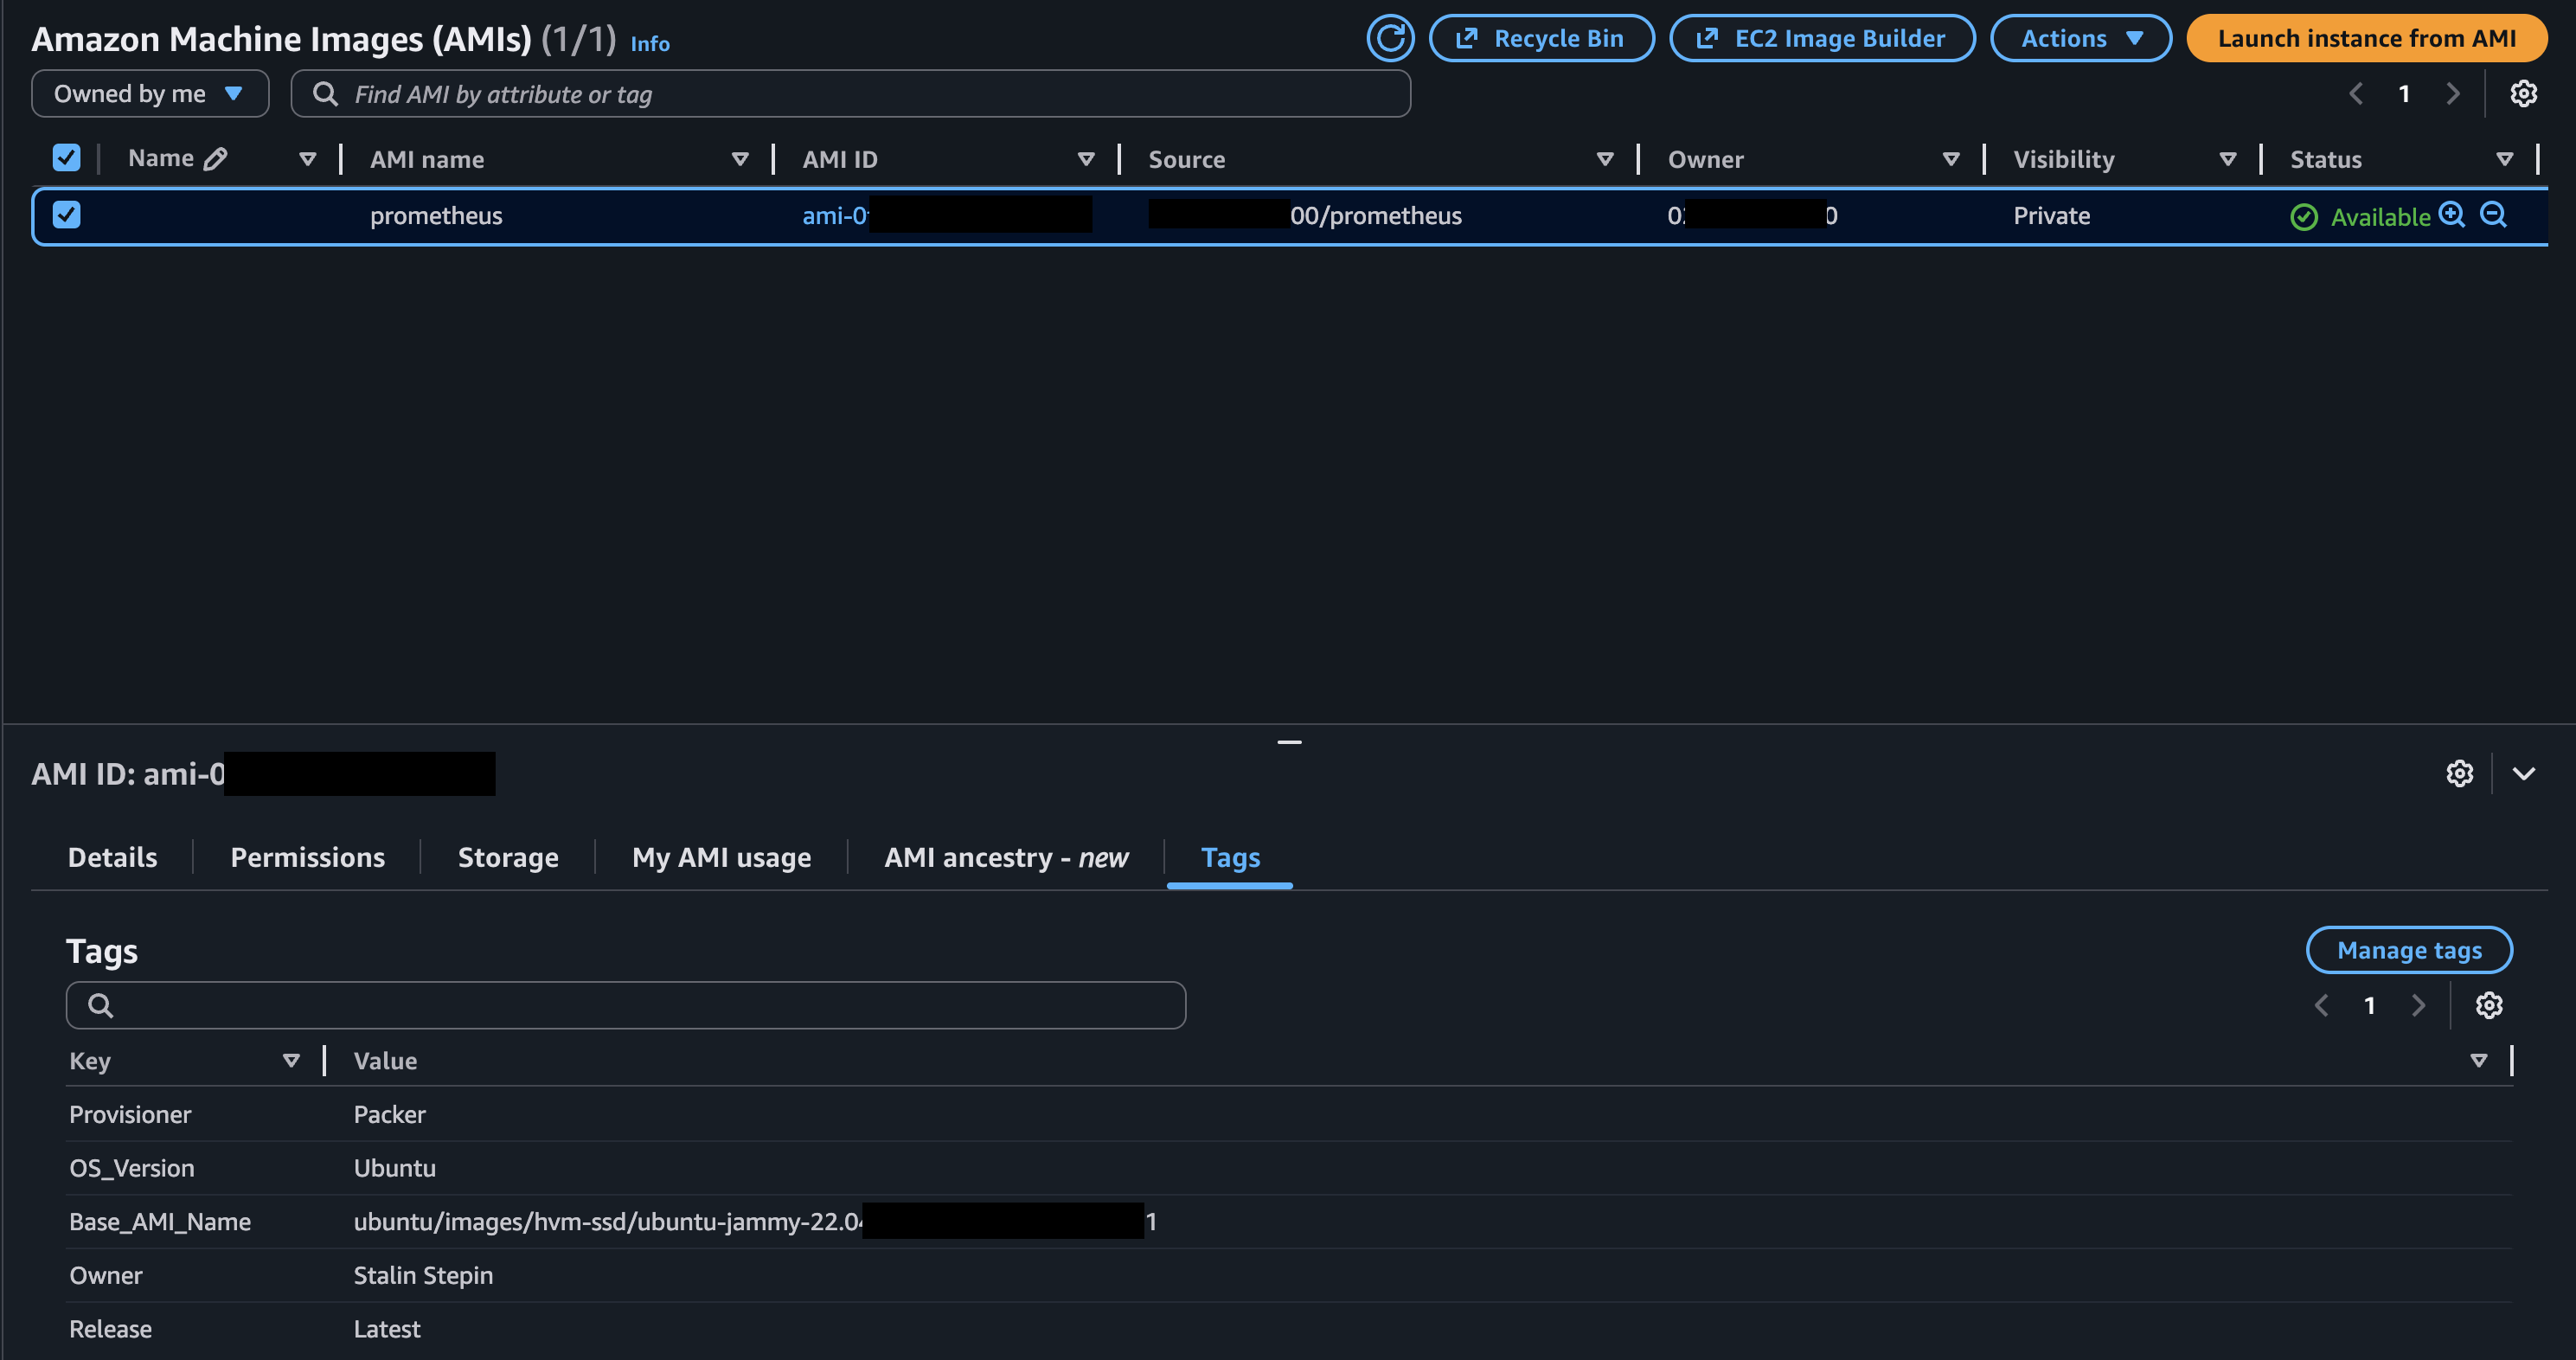
Testing Your Build.
Lets create a new AWS EC2 instance using the packer built AMI and try accessing the Prometheus services. To do this:
- Select your AMI and click Launch instance from AMI.
- Give your instance a Name.
- Choose the Instance type, Key pair, Network Settings and Storage.
- Click Launch instance once you are happy with the defined the settings.
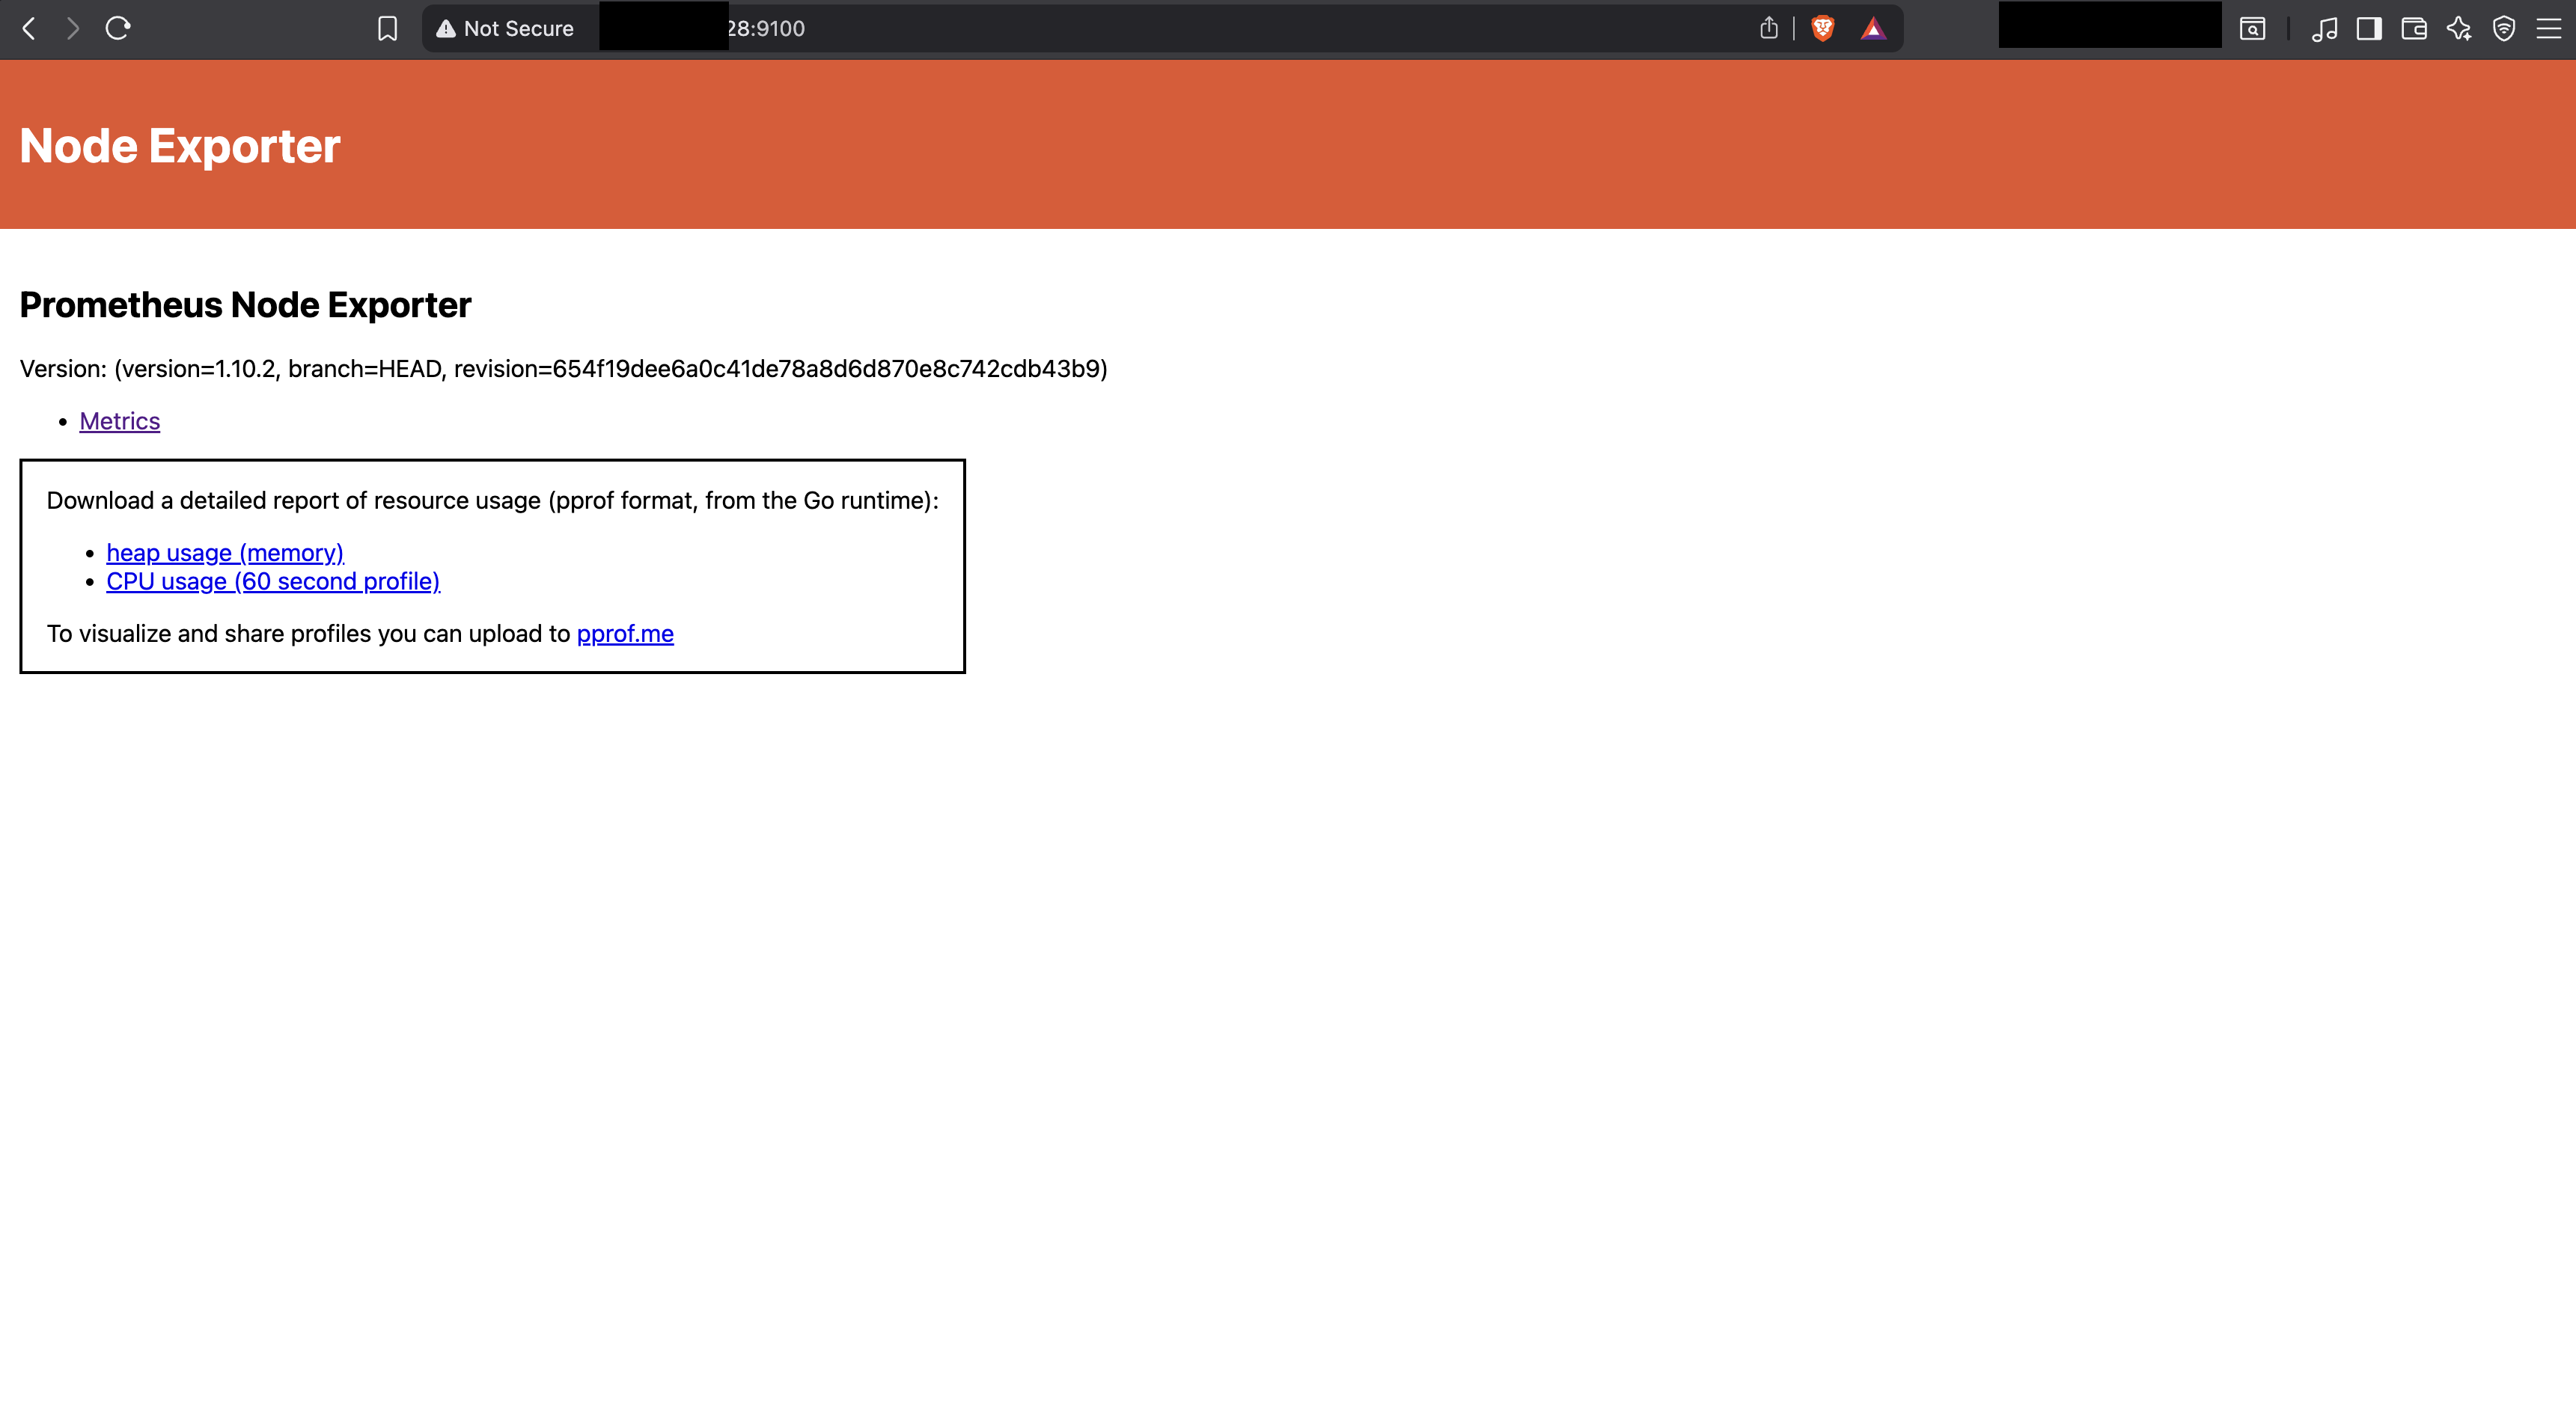
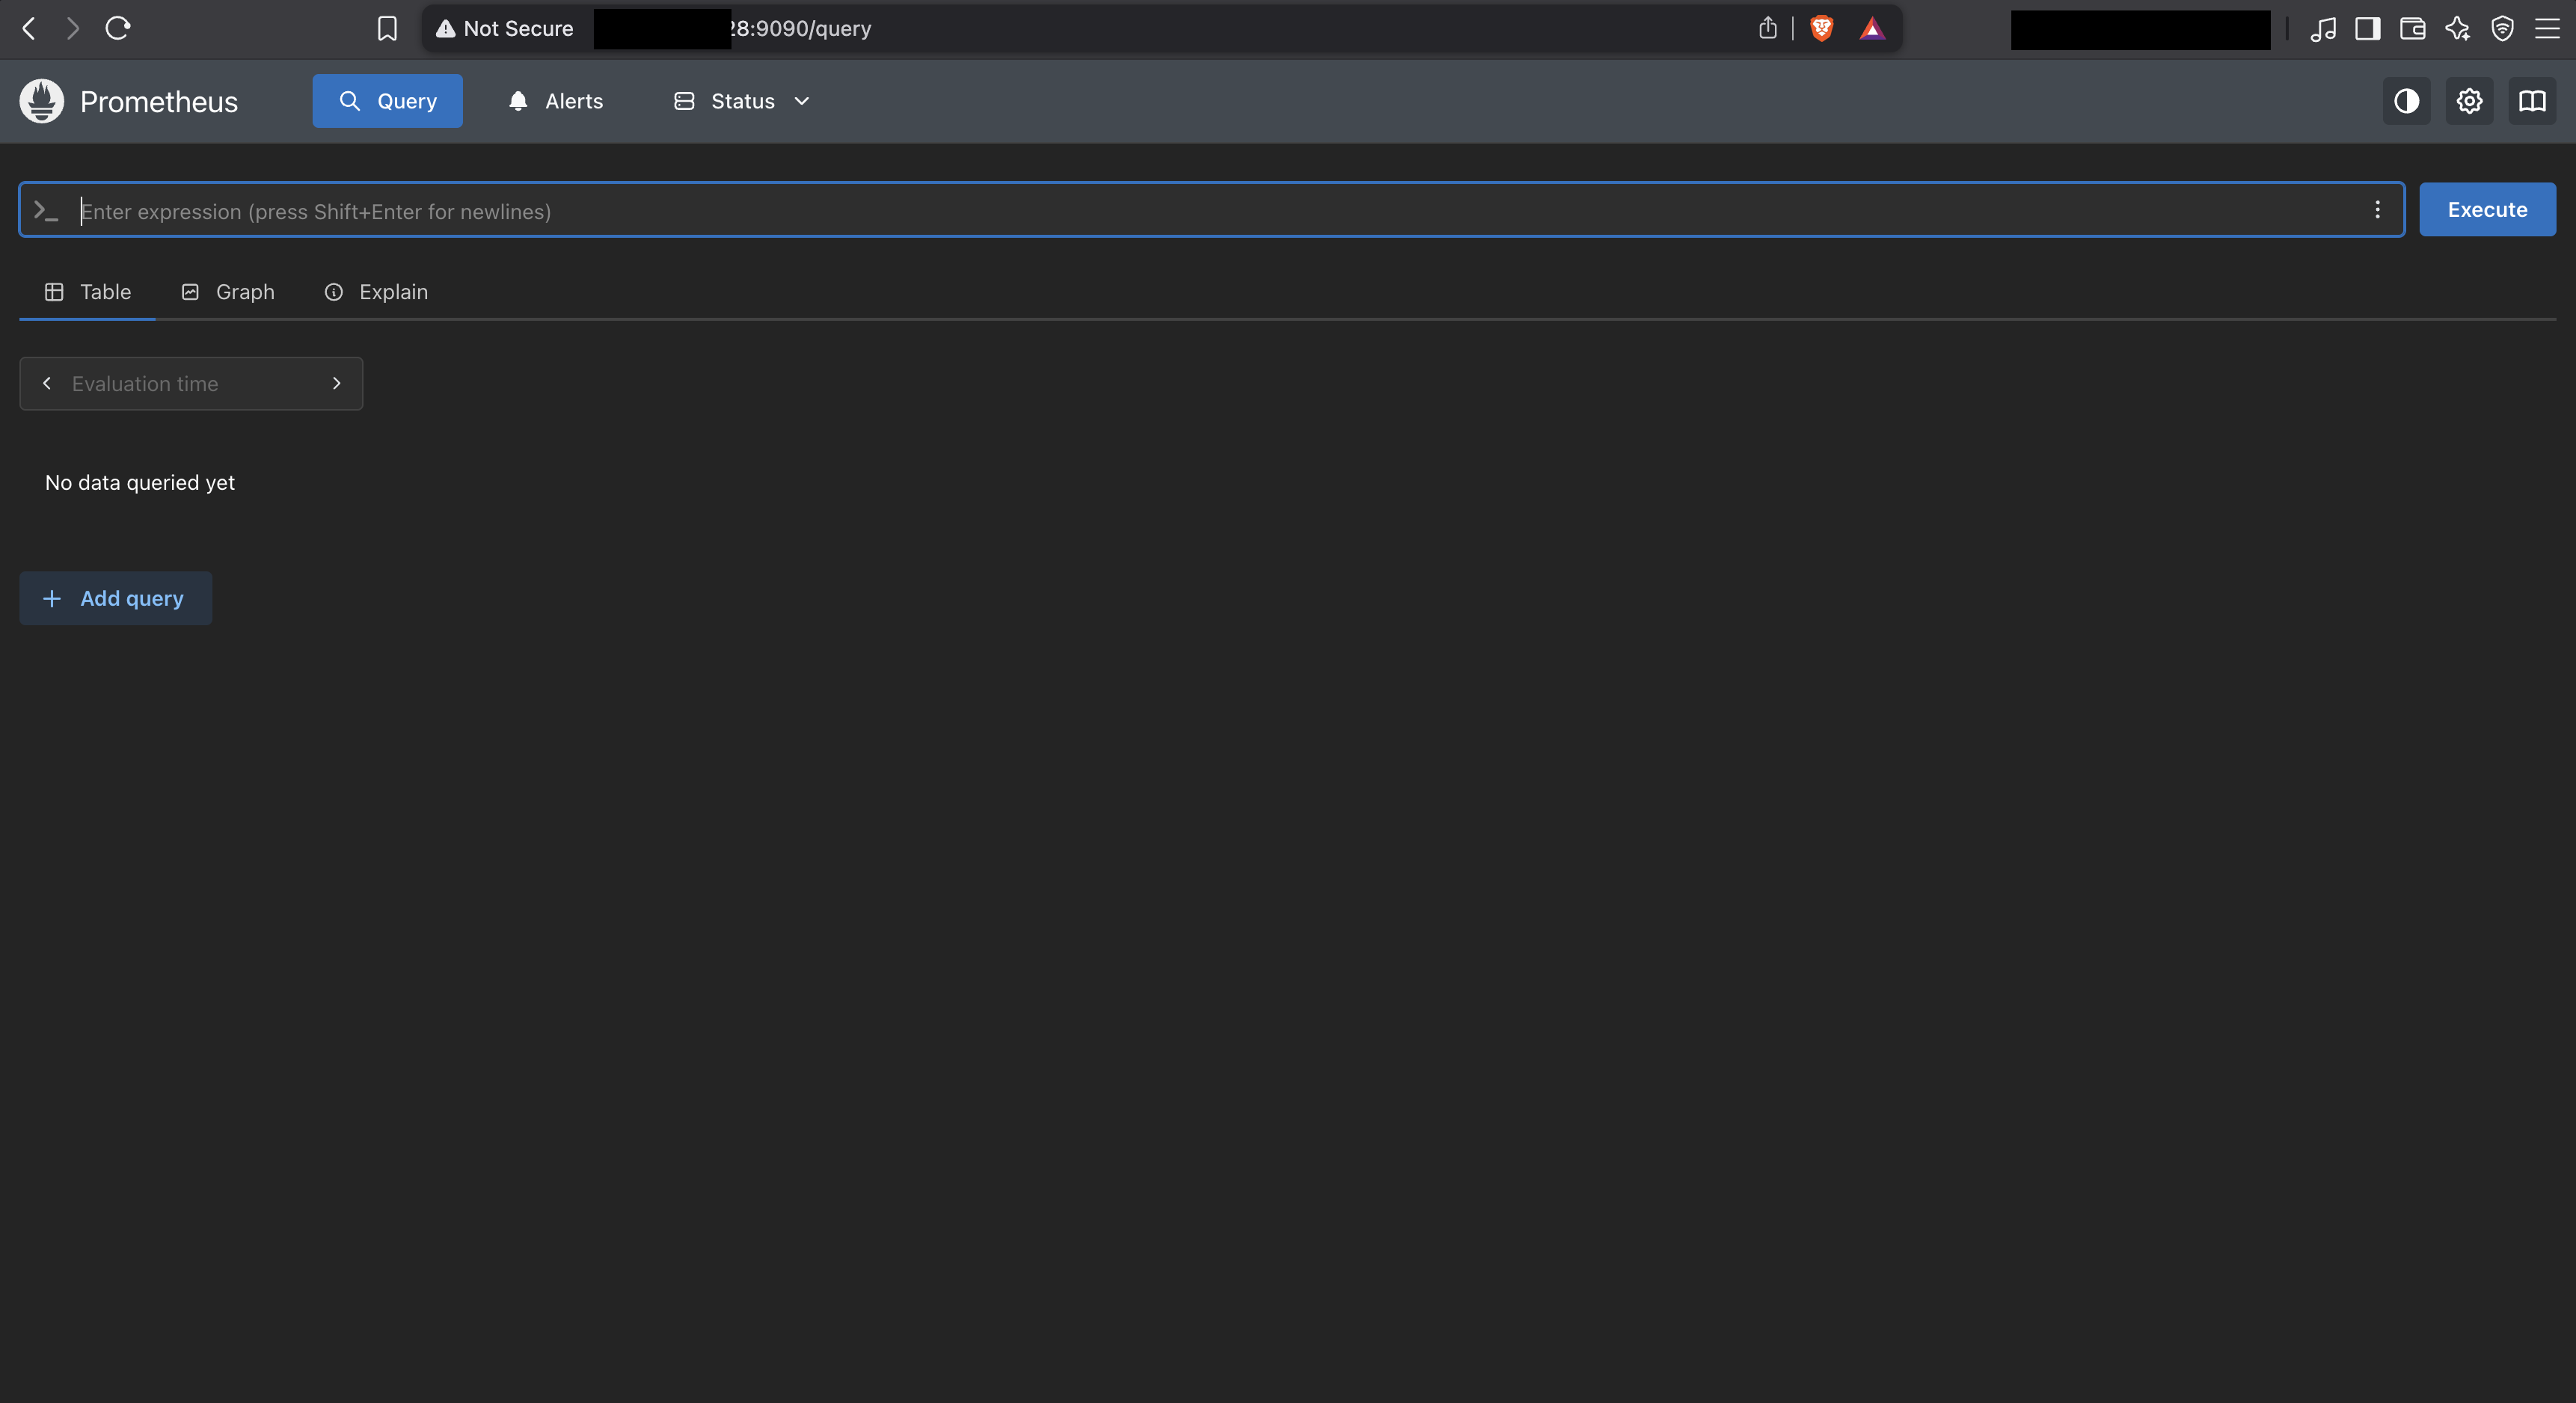
- Once the instance is up and running, get the Public IP of the newly created EC2 instance.
- Fire up a browser and try accessing both 9090 and 9100 ports using the public IP.
Conclusion:
By now, you’ve seen how HashiCorp Packer can streamline the process of building fully customized machine images that come preconfigured with the exact services, dependencies, and tooling your environments need. In this example, we used Packer to automate the installation and configuration of Prometheus Node Exporter and Prometheus Server directly into an AWS AMI, demonstrating just how powerful and flexible image templating can be.
Although this walkthrough focuses on deploying and configuring applications within the image using Packer provisioners, it’s important to note that this is not Packer’s primary purpose. Provisioners make these tasks possible, but Packer’s true strength lies in producing reusable, consistent, and versionable base images that form the foundation of your infrastructure - whether for cloud, on-prem, or container environments.
For full-scale application deployment, configuration management, and lifecycle orchestration on top of these base images, tools like Terraform, Ansible, Chef, or Puppet are far better suited. These tools take over where Packer leaves off, ensuring that applications are deployed, updated, scaled, and maintained according to operational best practices.
In future blogs, we’ll explore how Terraform and Ansible fit into this workflow to help you build a complete, automated, and production ready infrastructure pipeline - from image creation to application rollout.